
When you're building or renovating, think of the rough in inspection as the most important check-up your home will ever have. It happens right before the "skin"—the drywall—goes on. This is the moment when an inspector makes sure all the hidden systems inside your walls are installed correctly and safely. We're talking about the guts of the house: the plumbing, electrical, HVAC, and framing. For any major project, this step is absolutely non-negotiable.
Why This Inspection Is Your Project's Most Important Milestone
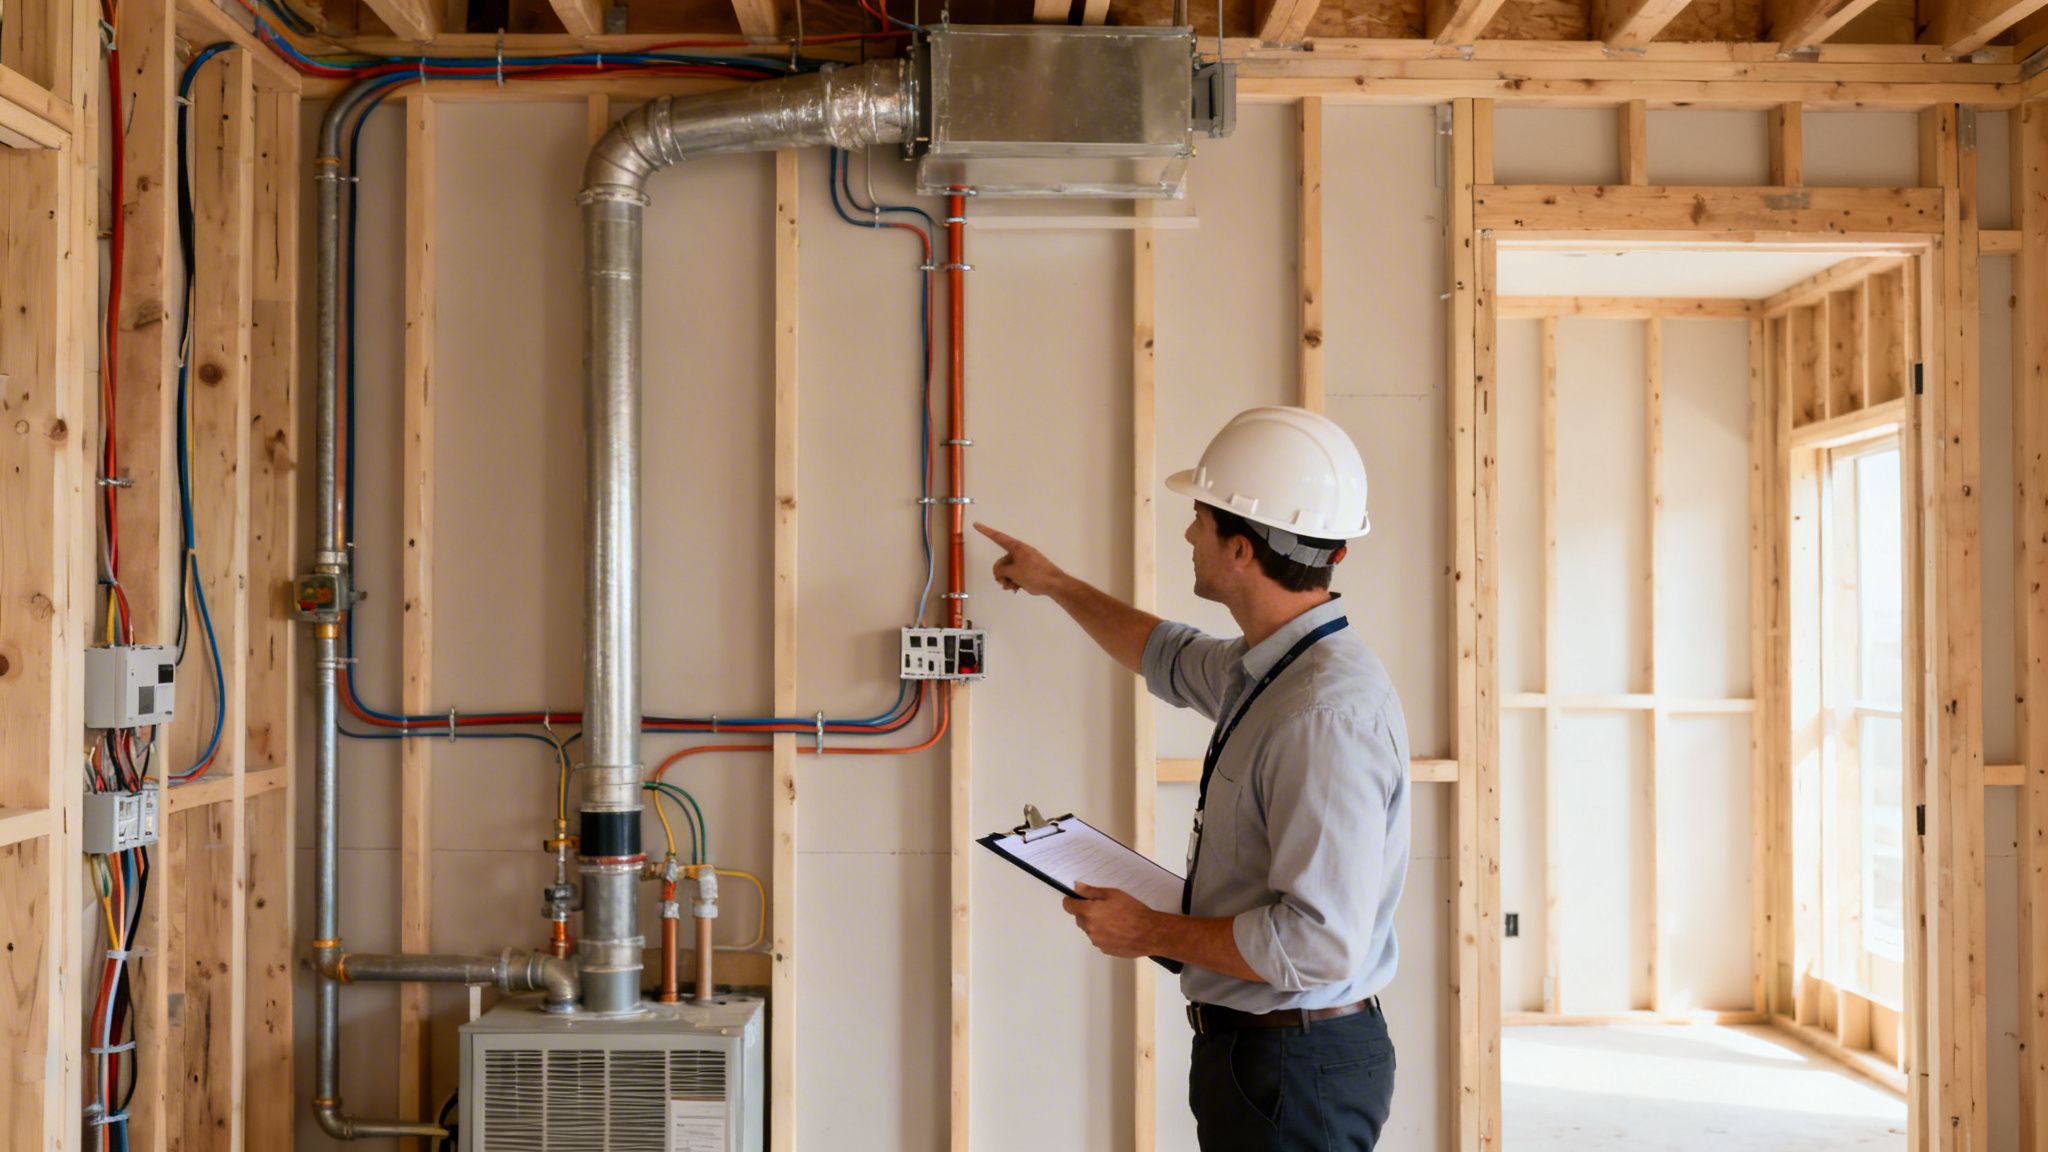
A rough-in inspection is basically a quality control and safety checkpoint that takes place after the framing is done but before any insulation or drywall goes up. It's like an open-book test where the inspector from your local building department gets a crystal-clear view of the building's "bones" and "organs."
This isn't just about ticking a box on a permit checklist. It's about preventing a future disaster. Catch a mistake at this stage, and it's usually a straightforward fix. But find that same mistake after the walls are closed up? You could be looking at catastrophic failures, incredibly expensive teardowns, and serious safety risks.
It’s like a surgeon double-checking everything before closing up. They make sure every connection is secure and every system is ready to go. That's what a rough-in inspection does for your home—it ensures the core components are solid before they get sealed away forever.
The Scope of a Rough In Inspection
The inspection isn't just one big event. It's usually a series of focused checks, sometimes done by different inspectors who specialize in a trade, or by one person trained across the board. The whole point is to confirm that everything behind the walls meets current building codes before it becomes impossible to see.
To help you get a clear picture, here’s a quick breakdown of what gets looked at for each trade.
Key Rough In Inspection Stages at a Glance
| Inspection Type | What's Checked | Primary Goal |
|---|---|---|
| Framing | Studs, beams, joists, and other structural elements. | Confirm the "skeleton" of the house is strong enough to hold the building's weight safely. |
| Electrical | Wire placement, circuit protection, outlet box installation, and grounding. | Prevent potential fire hazards and ensure the system is safe and reliable. |
| Plumbing | Supply lines, drain lines, and vents for proper routing, slope, and support. | Stop leaks before they start and guarantee everything drains and flows correctly. |
| HVAC (Mechanical) | Ductwork, ventilation shafts, and refrigerant lines. | Ensure the system is sealed for efficiency and installed safely to manage air quality. |
These inspections are crucial checkpoints. In fact, for a new single-family home, the median number of inspections is eight, with some complex builds needing over fifteen. Smart contractors know this. We perform our own internal reviews to catch and fix 90-95% of potential red flags before the official inspector even sets foot on site. As platforms like Procore have shown, this proactive approach is the key to avoiding delays and rework.
Passing the rough-in gives you the green light to move on to insulation, drywall, and all the finishes that make a house a home. If you fail, you get a stop-work order—a dreaded red tag—and a list of corrections. You can't do anything else until those items are fixed and you pass a re-inspection, which costs you both time and money.
The Core Four of a Rough-In Inspection
A successful rough-in inspection isn't just one big event. It’s actually four separate checks rolled into one, each focused on a different system hidden inside your walls. Think of them as the four pillars holding up your entire project: framing, electrical, plumbing, and HVAC.
The inspector has to sign off on each one for safety, function, and code compliance before they disappear behind drywall forever.
Knowing what they’re looking for in each trade is the secret to passing the first time around. It’s not about memorizing a bunch of abstract rules, but about understanding the practical, real-world reasons behind them. When you get that, the inspection stops feeling like a high-stakes test and becomes more of a collaborative quality check.
Framing: The Backbone of Your Building
Of all the checks, the framing inspection is arguably the most foundational—literally. It’s all about making sure the structural "skeleton" of your home is sound, stable, and ready to handle anything thrown at it for decades to come. The inspector is looking for a whole lot more than just straight walls.
Their main concern is the load path. Imagine the combined weight of the roof, a heavy snow, and the upper floors as water flowing down through the house. The framing’s job is to create a continuous, unbroken channel for that "water" to travel safely all the way to the foundation. Any gap, weak spot, or misstep in this path is a recipe for structural failure down the road.
This is why they get so specific, checking critical elements like:
- Headers: Are the beams over your windows and doors sized correctly? Are they supported properly? They need to carry the weight from above without even thinking about sagging.
- Joists and Rafters: The inspector will verify that the lumber used for floors and the roof is the right size, spaced correctly, and fastened according to spec.
- Sheathing and Bracing: They'll confirm the exterior sheathing is nailed off with the right pattern and that special wall bracing is in place to fight against forces like strong winds.
Another thing they're adamant about is fire blocking. These are simple pieces of wood tucked inside wall cavities, but they serve a huge purpose: stopping fire from racing vertically and horizontally through the hidden spaces in your home. Without them, a small fire inside a wall can shoot straight up to the attic, turning a containable problem into a catastrophic loss.
A framing inspection confirms that your building’s bones are strong enough to stand the test of time. It verifies that every stud, beam, and connector is working together to create a safe, resilient structure before the finishing touches ever begin.
Electrical: Powering Your Project Safely
The electrical rough-in is all about preventing two things: fire and electrocution. At this point, all the wires, boxes, and circuits are in place, but none of the final devices—like switches, outlets, or light fixtures—are connected. The inspector is there to verify the safety and integrity of this hidden network.
One of the first things they'll look at is how the wires are run and protected. You’ll see them checking how cables are stapled to the studs. Wires must be stapled within 8 inches of an electrical box and every few feet after that. This keeps them from getting nicked by a drywall screw later on, which could cause a dangerous short.
They also look for nail plates. These are small steel plates that get hammered over the studs where wires or pipes pass through. They act like a tiny suit of armor, protecting the wiring from a stray nail or screw someone might drive in years from now. It’s a small detail that prevents countless electrical fires.
Circuit protection is another big one. The inspector confirms that:
- The wire gauge is correct for the circuit breaker (for example, 15-amp breakers need 14-gauge wire). This is crucial for preventing overloads that make wires dangerously hot.
- GFCI (Ground Fault Circuit Interrupter) protection is planned for all the wet spots—kitchens, bathrooms, garages, and outdoor outlets.
- Electrical boxes are mounted securely and aren't jam-packed with too many wires, which can lead to serious heat buildup.
Plumbing: Ensuring Flawless Flow and Function
The plumbing rough-in is a two-for-one deal. The inspector is making sure two completely separate systems are installed perfectly: the supply lines bringing clean water in, and the drain-waste-vent (DWV) system taking wastewater out.
When it comes to the DWV system, the inspector is obsessed with one thing: slope. Every single drainpipe has to have a continuous downward slope—usually 1/4 inch per foot—so gravity can do its work. If a pipe has a "belly" or a section that slopes the wrong way, you’re just asking for constant clogs and backups.
Just as important is the venting system. You’ll notice pipes sticking up out of the drains that don't seem to connect to anything. These vent pipes run all the way up through the roof, allowing air into the system. Without them, a vacuum would form, siphoning the water right out of your P-traps and letting smelly, unpleasant sewer gas into your home.
Before the inspector even shows up, the entire DWV system has to pass a pressure test. We cap off the system and fill the pipes with either water or air to a specific pressure. Then we wait. It has to hold that pressure for a set amount of time, proving that every single joint is perfectly sealed and there are zero leaks. It’s the ultimate guarantee against slow, hidden water damage behind your walls.
HVAC: Comfort and Efficiency Combined
The HVAC (Heating, Ventilation, and Air Conditioning) inspection is all about moving air efficiently and safely. The furnace or air handler might be in place, but the inspector’s real focus is on the ductwork, refrigerant lines, and condensate drains that snake through the framing.
Leaky ducts are a huge energy-waster. An inspector will check that every ductwork connection is fastened with screws and sealed up tight with mastic (a gooey, permanent sealant) or approved tape. A well-sealed system means the heated or cooled air you’re paying good money for actually makes it into your rooms instead of leaking into the attic or crawlspace.
Another critical checkpoint is the routing of condensate drains. Air conditioners and high-efficiency furnaces create water (condensate) while they run. That water has to go somewhere. An incorrectly sloped drain line can easily back up and overflow, causing major water damage to ceilings and walls. It’s a simple check that prevents a very expensive and messy problem.
How to Navigate Permits and Schedule Your Inspection
Passing a rough-in inspection is as much about good paperwork and planning as it is about quality craftsmanship. Let’s be honest, the administrative side of a construction project—getting permits, scheduling with the local powers that be—can feel like a maze. But once you understand it, there's a clear, logical path to follow.
The whole dance starts long before the first nail is hammered. Your general contractor has to submit a mountain of detailed plans to secure a building permit. Think of this permit as the official green light from your local town or county, confirming your project's design is up to code. Without this foundational document, no work can legally start, and you definitely can't call for an inspection.
This is where having a seasoned local contractor really pays off, especially here in Southern North Carolina. Every county, from Cumberland to Moore, has its own quirks—specific forms, different review times, you name it. An experienced team knows exactly what paperwork is needed, who to talk to, and how to put together a package that gets a swift approval.
From Permit to Inspection Day
Once that permit is approved and posted proudly on-site, the real work begins. Your contractor will then get the "core four" trades lined up: framing, plumbing, electrical, and HVAC. Each one has to get their rough-in work completely done before you can even think about calling the inspector.
This infographic gives you a good sense of how these separate jobs all have to come together before the big inspection day.
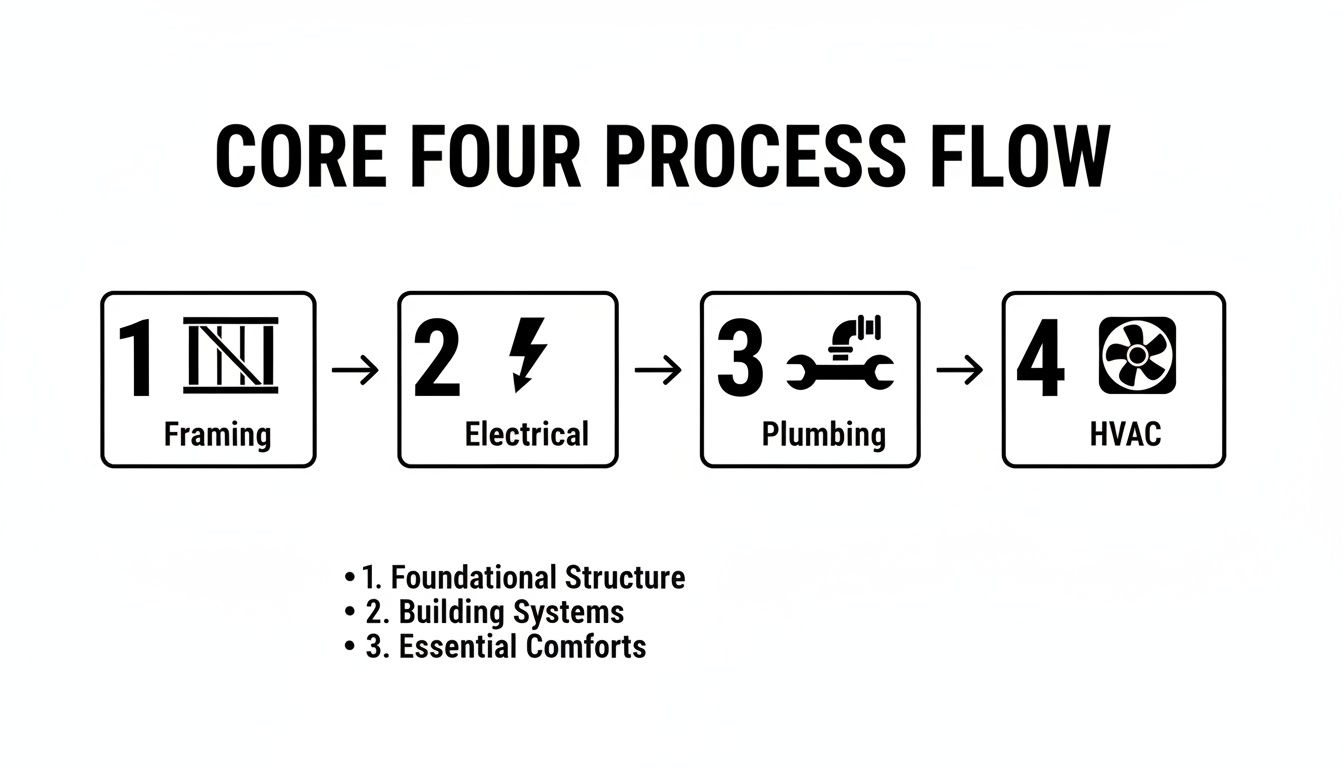
As you can see, even though the electrician and the plumber are working on different systems, their work has to be 100% finished and correct before that single, all-encompassing rough-in inspection can happen.
Actually scheduling the inspection usually involves jumping on an online portal or making a direct call to the local building department. You’ll need your permit number handy and will have to specify that you’re ready for the "rough-in" phase. Most places require at least a 24- to 48-hour heads-up, but that can stretch out during the busy spring and summer construction seasons.
The Rise of Virtual Inspections
Lately, some jurisdictions have started offering Remote Virtual Inspections (RVIs) to try and speed things up. The idea is to walk an inspector through the site using a video call. It's a neat idea, but it has its limits.
RVIs can be fantastic for small, one-off checks, like a single new outlet. But for something as complex and critical as a full-system rough-in inspection, a camera feed just can't replace the trained eye and hands-on verification of an inspector who is physically on-site.
Delays are the bane of every builder's existence. One study found that a staggering 82% of U.S. homebuilders run into setbacks because of inspections. Interestingly, while builders in the study loved how quickly they could schedule RVIs—sometimes in as little as 10 minutes—four out of five also said they're just not as accurate as in-person checks because of the limited view. You can explore the full findings on remote inspections to get a deeper look at the pros and cons.
At the end of the day, for something as crucial as a full rough-in, the peace of mind that comes from having a professional on-site is just invaluable.
Common Inspection Failures and How to Prevent Them
Knowing how to pass an inspection is one thing, but knowing why you might fail is where the real wisdom lies. A failed rough-in inspection doesn't just get you a red tag. It brings your entire project to a screeching halt, costing you precious time and money. Think of this as your "what not to do" guide—a cheat sheet we've built from years of on-the-ground experience.
Most failures aren't from some massive, catastrophic mistake. Nope. They’re usually born from the small, overlooked details that carry huge safety implications. By getting familiar with these common missteps, you can get ahead of quality control, sidestep those frustrating delays, and help your project sail through on the first try.
The Most Common Culprits in a Failed Inspection
When an inspector steps onto your job site, they have a mental checklist of violations that compromise a building's safety and structural integrity. A handful of issues pop up way more often than others, across all the trades. These are the low-hanging fruit for a red tag, but they're also the easiest to prevent with a little foresight.
Here are some of the most frequent reasons for failure:
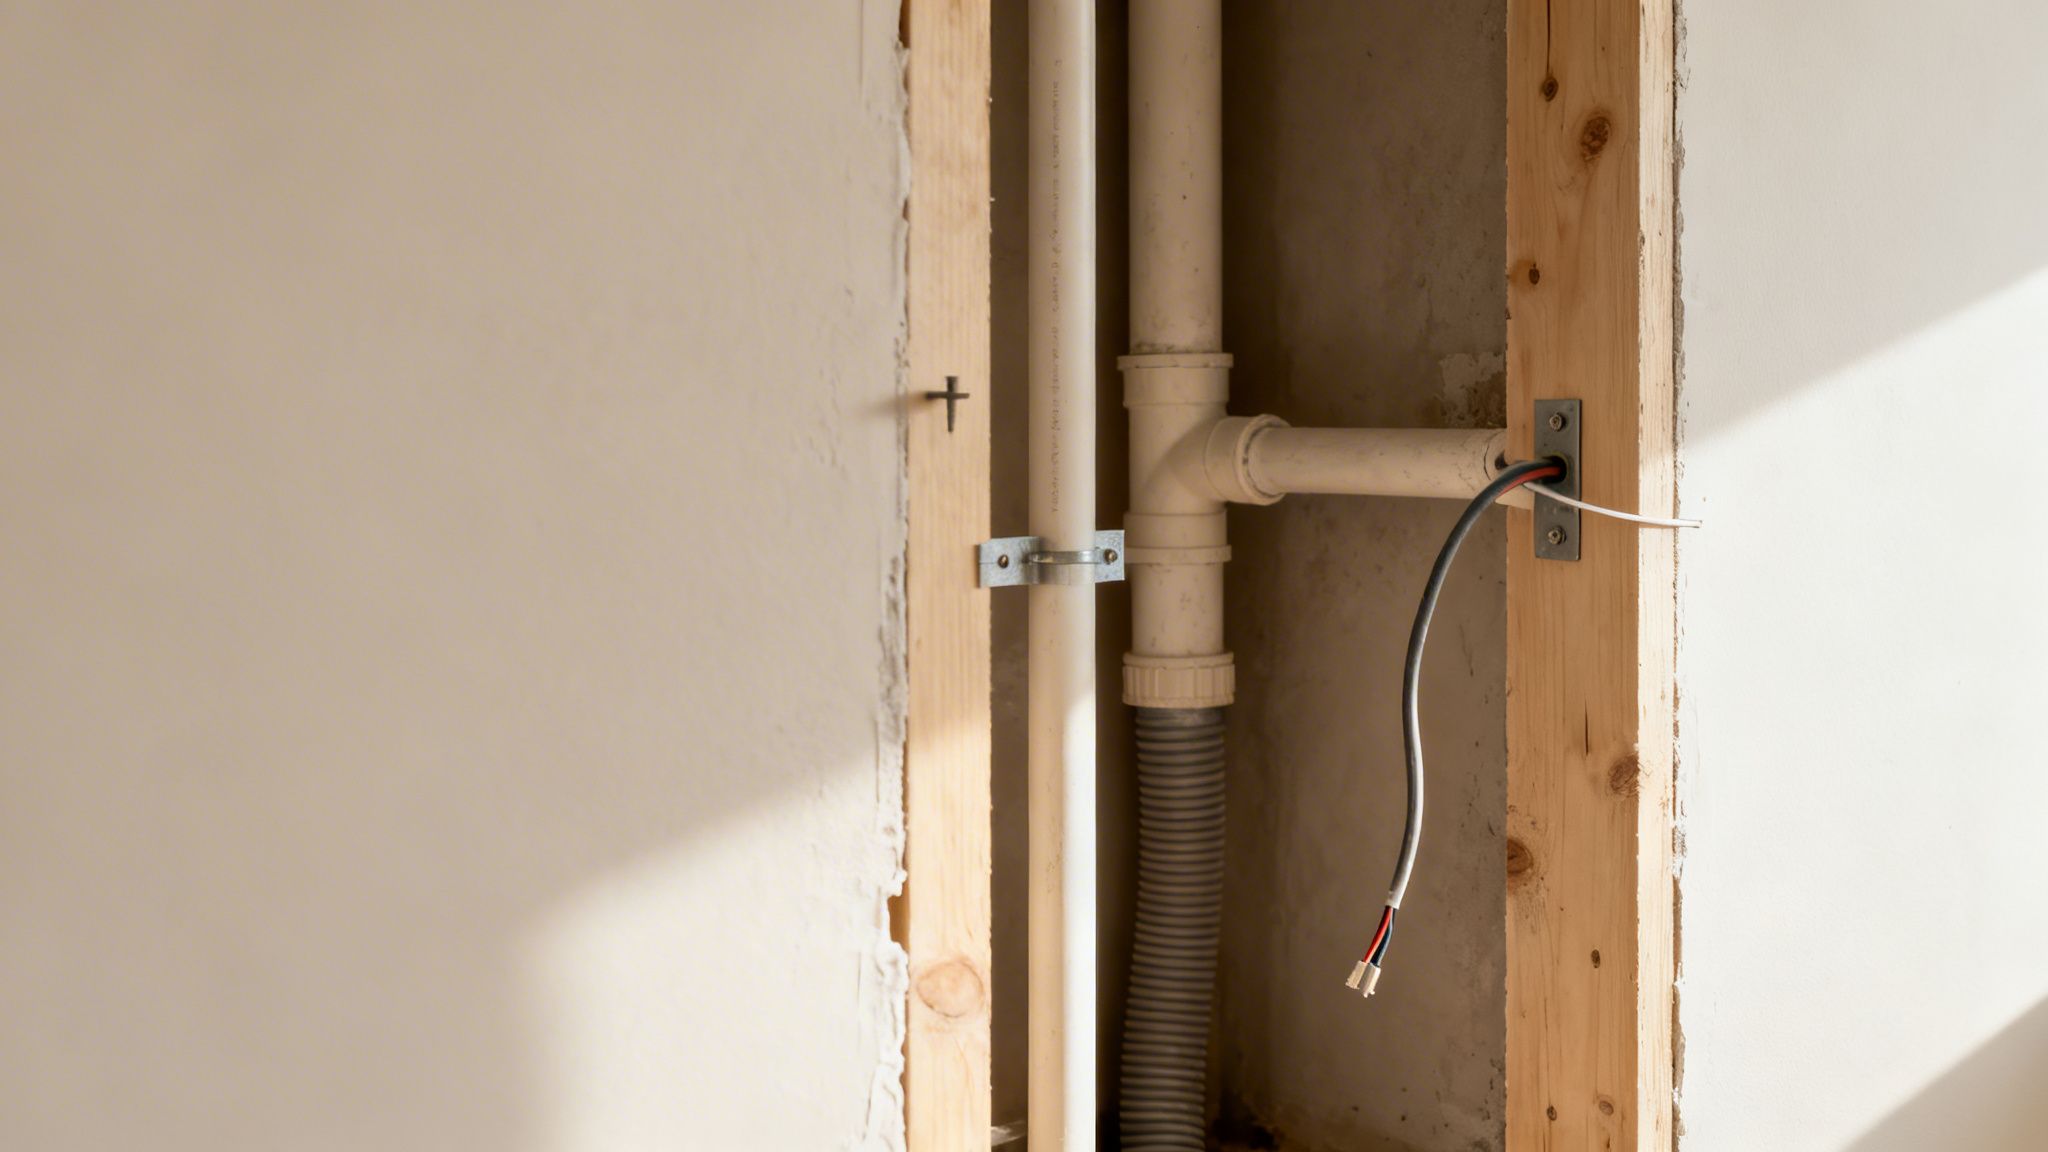
Missing Nail Plates: These are just small metal shields hammered over studs where wires or pipes pass through. But without them? A simple drywall screw could puncture a water line or, even worse, energize a metal fastener, creating a severe electrical hazard.
Improper Fire Blocking: Fire blocking is essentially just lumber installed horizontally inside wall cavities. Its only job is to slow the spread of fire. If these crucial barriers are missing or installed incorrectly, it creates a chimney for flames to race between floors—an instant failure.
Unsupported Pipes and Conduits: Both plumbing drains and electrical conduits have to be properly supported at specific intervals. An unsupported drain line can sag and form a "belly," which leads to clogs forever. An unsecured conduit can get damaged, compromising the wires tucked safely inside.
These issues really drive home what the rough-in phase is all about: correctly installing all the hidden guts of the house. The stakes are incredibly high; data from the Bureau of Labor Statistics (BLS) shows that in 2023, falls and trips caused 421 construction fatalities. Many of these accidents are linked to framing or scaffolding problems that are completely identifiable during a rough-in.
Trade-Specific Mistakes to Watch For
Beyond those general errors, each trade has its own unique set of common pitfalls. A sharp eye can catch these problems long before the inspector shows up, saving you the headache and cost of a re-inspection.
Framing Failures
Inspectors are hawks for improper notching and boring. You can't just cut into studs and joists wherever you please; there are strict rules about the size and location of any holes to maintain structural integrity. Another classic failure is incorrect header installation over windows and doors, where the wrong size lumber is used to carry the load from above.
Plumbing Pitfalls
For plumbers, one of the biggest red flags is an improper drain slope. A drain that’s too flat won't carry waste away, and one that’s too steep can let liquids outrun solids, leading to a clog. Inspectors will also check for leaks in the water or DWV (Drain-Waste-Vent) systems, which is why a pressure test is mandatory before they arrive. Sometimes, slope problems can even point back to bigger issues, like a shifting foundation; you can learn more about crawl space moisture problems and their impact on our blog.
The most expensive mistake is the one you have to fix twice. A proactive walkthrough to spot these common failures before the official rough in inspection is the single best investment of time you can make on any project.
Electrical Errors
In the electrical world, violations often boil down to unsecured boxes and improper wire stapling. Electrical boxes have to be rock-solid and firmly attached to the framing, and the wires must be stapled within eight inches of the box. Inspectors will also check for overcrowded boxes, which can cause dangerous overheating.
By familiarizing yourself with these frequent failure points, you shift from a reactive mindset to a proactive one. You’re no longer just hoping to pass; you're actively ensuring it.
Your Ultimate Pre-Inspection Checklist
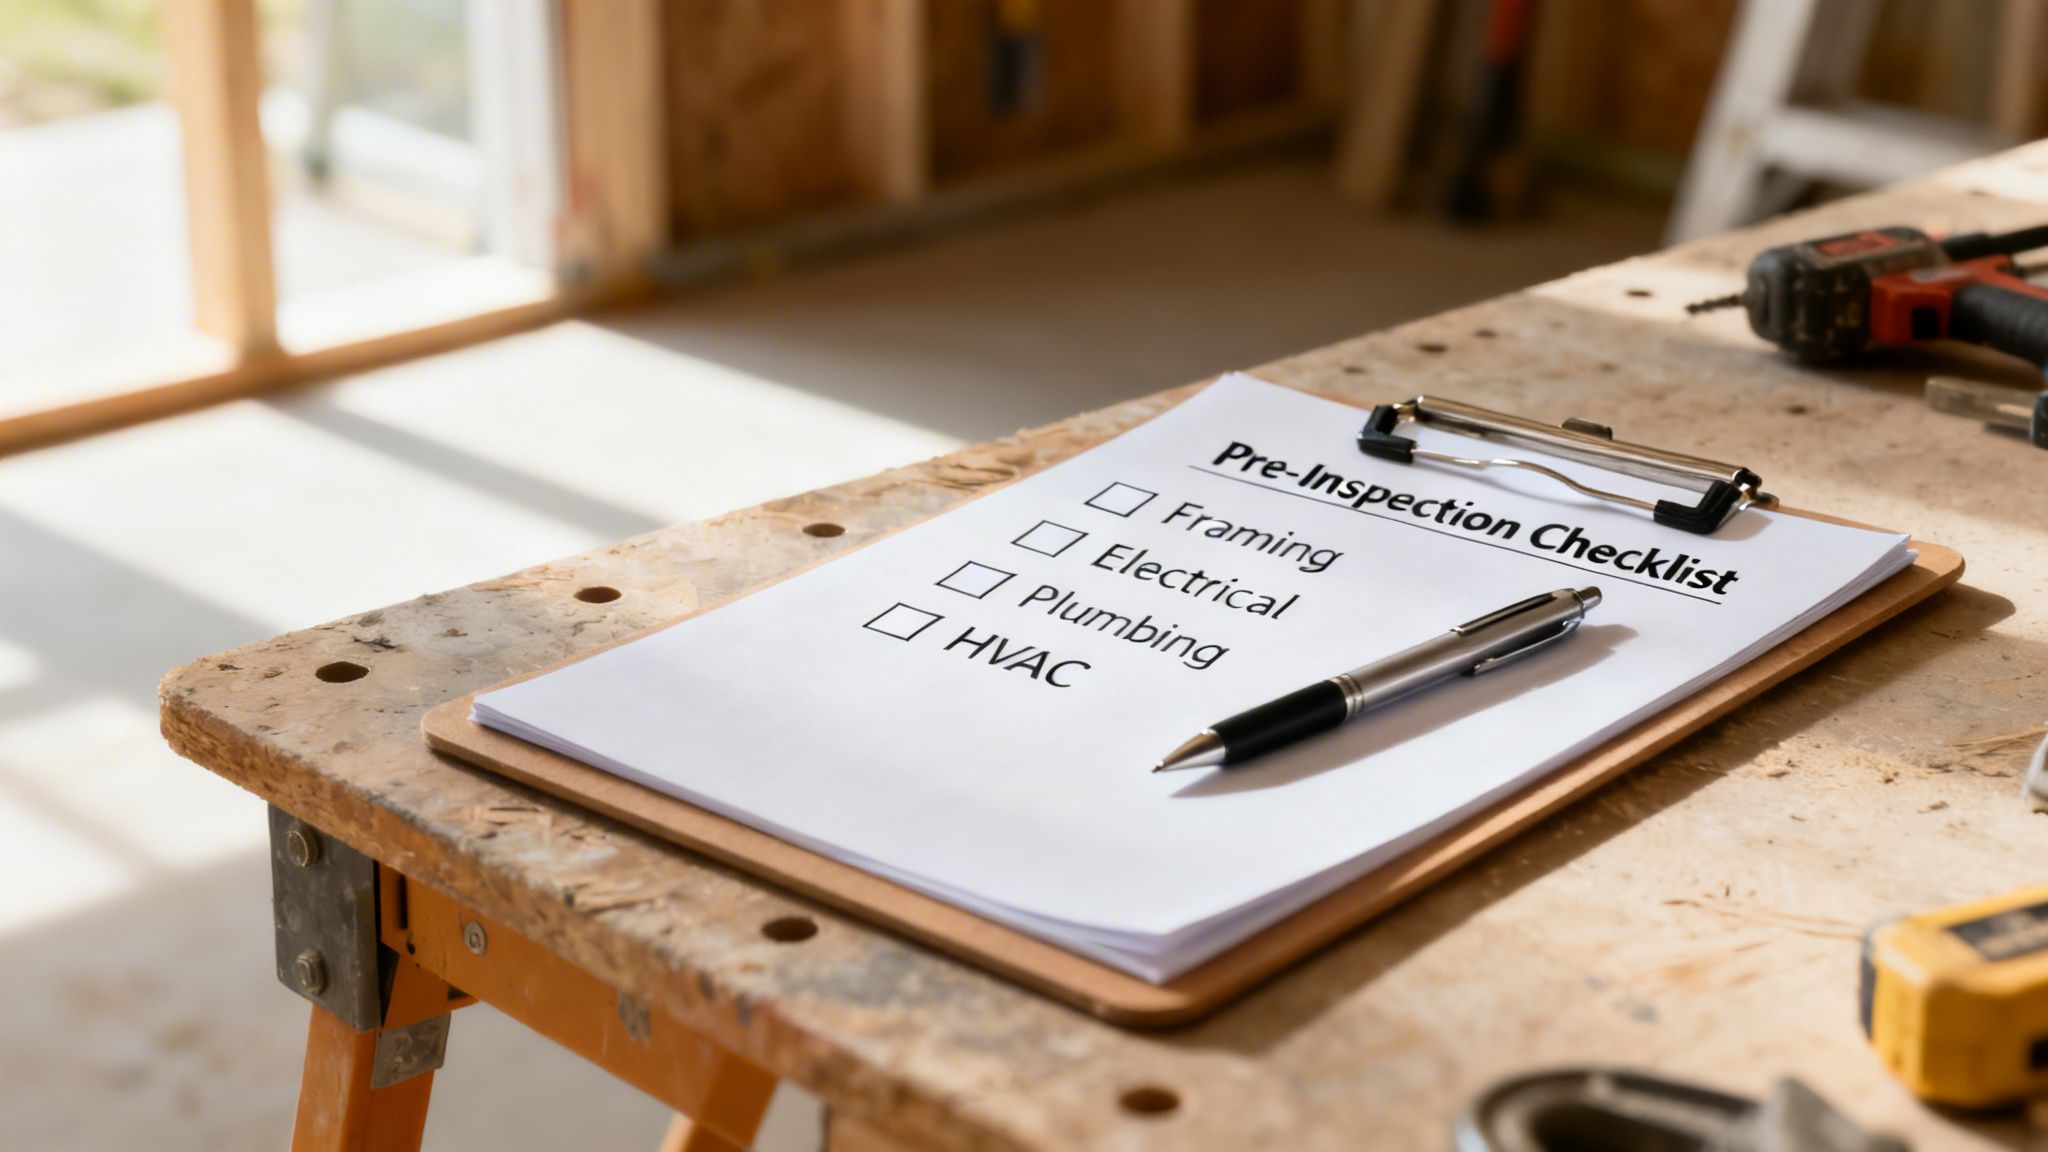
Confidence on inspection day doesn't come from luck; it comes from preparation. A failed rough-in inspection brings everything to a grinding halt, so a final walkthrough isn't just a good idea—it's non-negotiable. This game plan breaks the whole complex process down into a simple, manageable to-do list, organized by each trade.
Think of this as your own internal quality audit. By methodically checking every item before the inspector ever sets foot on site, you can catch and fix any potential red flags early. This is the single most effective way to ensure a smooth, one-and-done inspection.
Framing Checklist
The framing is your home’s skeleton, and the inspector’s main job here is to verify its structural integrity and safety. They’re looking for a solid, continuous load path from the roof down to the foundation and proper fire protection before anything gets covered up.
Load-Bearing Walls and Headers: Double-check that all headers over windows and doors are sized correctly and properly supported. Make sure any point loads from beams or girders transfer directly down to the foundation through solid blocking or engineered studs.
Stud and Joist Spacing: Pull out the tape measure. Confirm that the on-center spacing for all wall studs, floor joists, and roof rafters actually matches what’s on the approved plans.
Fire Blocking and Draft Stopping: This is a big one for safety. Verify that fire blocking is installed in all the required spots—concealed wall cavities, soffits, and stairways—to stop fire from spreading vertically and horizontally through the hidden spaces.
Notching and Boring: Take a close look at any studs and joists that were cut to run wiring or plumbing. You need to ensure these notches and holes don't violate code restrictions on size and location, which could weaken the home's structure.
Electrical System Checklist
With the electrical rough-in, it’s all about preventing fire and shock hazards. The inspector needs to see that every wire is protected, circuits are set up right, and all the boxes are installed securely.
Wire Protection and Support: Confirm all non-metallic sheathed cables are stapled within 8 inches of every box and then every 4.5 feet after that. You also need to make sure steel nail plates are installed wherever wires pass through studs less than 1.25 inches from the edge.
Box Installation: Check that all electrical boxes are fastened securely to the framing. They can't be recessed more than a quarter-inch from where the future drywall will be. Also, make sure the boxes aren't overcrowded with wires.
Grounding and Bonding: The grounding system has to be complete. This means all boxes, devices, and any metal components are properly bonded together.
Plumbing System Checklist
The plumbing inspection is really two inspections in one: the water supply lines and the drainage system. The inspector is focused on preventing leaks, ensuring proper flow, and protecting your clean drinking water.
DWV System Slope and Support: All drain, waste, and vent (DWV) pipes must have the correct downward slope, which is typically 1/4 inch per foot. Check that the pipes are also supported well enough to keep them from sagging over time.
Pressure Test Documentation: A pressure test on both the supply lines and the DWV system is mandatory. Have the paperwork ready showing that both systems held pressure perfectly with zero leaks.
Nail Plate Protection: Just like with electrical wiring, you have to install protective nail plates where any pipes pass through studs. This prevents a future homeowner from accidentally puncturing a pipe with a nail or screw.
Vent Terminations: Walk the property and confirm that all plumbing vents properly extend through the roof or terminate correctly according to local code.
A detailed pre-inspection review transforms anxiety into assurance. It’s your final line of defense against costly red tags, making sure that when the inspector arrives, their job is just to confirm the high-quality work you’ve already verified. To build a robust quality control program into your projects, check out our comprehensive construction quality control checklist for more tips.
To make this even easier, we’ve put together a final walkthrough checklist you can take right to the job site. Go through each item one by one before you schedule the inspection.
Rough In Inspection Final Walkthrough Checklist
| Trade | Check Item | Status (Ready/Not Ready) |
|---|---|---|
| Framing | Headers sized & supported correctly | |
| Stud & joist spacing matches plans | ||
| Fire blocking installed in all required locations | ||
| Notches & holes are within code limits | ||
| Electrical | Wires stapled within 8" of boxes & every 4.5' | |
| Nail plates installed where required | ||
| Boxes are secure & not overfilled | ||
| Grounding & bonding system is complete | ||
| Plumbing | DWV pipes sloped at 1/4" per foot | |
| DWV & supply lines are properly supported | ||
| Pressure test passed & documentation is ready | ||
| Nail plates installed on all pipe penetrations | ||
| HVAC | Ductwork is sealed & supported | |
| Condensate lines have proper slope & termination | ||
| Linesets are protected from damage | ||
| General | Job site is clean & accessible | |
| Approved plans & permit card are on site |
Using a simple list like this helps ensure nothing falls through the cracks. It’s a straightforward way to get everyone on the same page and breeze through your inspection.
How We Guarantee a Smooth Inspection Process
Passing a rough-in inspection isn’t about crossing your fingers and hoping for the best; it’s the direct result of having a proactive, structured system. Experience makes all the difference, and our process is built on more than a decade of navigating the specific code nuances and inspector expectations across Southern North Carolina. We’ve learned how to turn a reactive, stressful event into a proactive, predictable milestone.
This system is designed to catch potential issues long before the official inspector ever sets foot on your property, upholding our promise to keep your project on schedule and on budget. It’s how we deliver the superior quality backed by our one-year workmanship warranty.
Step 1: Subcontractor Self-Audits
Our process starts by empowering our trade partners. We equip every single subcontractor—the framers, electricians, plumbers, and HVAC technicians—with detailed self-audit checklists that we’ve developed directly from local code requirements.
Before they can even tell us they're finished, they have to perform their own internal review. This first step creates a culture of accountability and makes sure the first layer of quality control happens right at the source. It’s a simple but incredibly powerful tool for setting a high standard from day one.
Step 2: Rigorous Project Manager Verification
Next, one of our own Project Managers conducts a thorough verification. They don’t just take our subcontractors’ word for it; they perform a complete walkthrough with a fine-toothed comb, checking every last detail against our master checklist and the approved plans.
Think of our Project Manager as your personal inspector—a second set of expert eyes whose only job is to find and fix potential red flags before they can become costly delays. This internal verification is our secret weapon for a seamless rough-in inspection.
This is where our deep experience really shines. We know what specific issues inspectors in Cumberland or Hoke County look for because we’ve worked with them for years. This second layer of review consistently catches over 90% of potential issues. When you're figuring out how to choose a general contractor, asking about their internal quality control process is absolutely essential.
Step 3: Proactive AHJ Coordination
The final step is all about proactive coordination with the local Authority Having Jurisdiction (AHJ). Only when our internal review is complete and we are 100% confident in the work do we schedule the official inspection.
We make sure the permit card and approved plans are clearly posted, the site is clean and easily accessible, and all pressure test documentation is ready to go. This preparation shows respect for the inspector’s time and sets a professional, organized tone for the walkthrough. It just makes for a smoother, more efficient process for everyone involved. We don't just build; we guide you through every single milestone.
Frequently Asked Questions About Rough In Inspections
Even with the most detailed plan, the rough-in inspection can feel like the project's biggest hurdle. It’s totally normal to have questions. To give you some clarity and confidence, we've put together answers for the things we get asked most often.
How Long Does A Rough In Inspection Take?
The actual on-site inspection is surprisingly fast. For a typical home, the inspector is usually in and out in about 30 to 90 minutes. But that’s just the time they spend on your property.
The real time-killer is the wait. Depending on how busy the local building department is, you could be waiting days or even a week just to get on the schedule. If you fail, that wait time doubles because you have to make corrections and then get back in line for a re-inspection. It can throw a major wrench in your project timeline.
What Happens If You Fail An Inspection?
Failing an inspection means getting a "red tag." It's a formal notice of correction that gets posted right there on the job site, listing every single code violation that needs to be fixed. You can’t hang a single piece of insulation or drywall until it's resolved.
Your project essentially grinds to a halt. After you’ve fixed everything on the list, you have to schedule a re-inspection. This not only causes delays but usually comes with a re-inspection fee, adding an annoying—and avoidable—cost to your budget.
A red tag is a stop sign for your entire project. It's a clear signal that safety or quality standards haven't been met, and the responsibility falls on the builder to resolve every single item on the list before the project gets a green light to continue.
Do I Need A Permit For A Simple Replacement?
Almost always, yes. Even swapping out an old furnace or water heater for a new one—what we call a "like-for-like" replacement—is typically considered new work by the building department. It requires a permit and an inspection.
The reason is simple: codes change. Safety standards, energy efficiency requirements, and installation practices are constantly being updated. We've gathered more answers to common questions just like this one, so feel free to explore our comprehensive FAQs for additional insights.
Navigating the world of construction inspections is a huge part of what we do at FHP Contracting. If you’re looking for a partner who sweats every detail to keep your project on track and up to code, we’re here to help. Build your vision with confidence by visiting https://fhpcontracting.com to schedule your free consultation.