

Building a barndominium is really a four-part dance: you’ve got to find the land and money, dream up a floor plan, get the county’s blessing with permits, and then manage the whole construction circus from the slab up. It's this fantastic blend of a tough-as-nails metal building and all the creature comforts you'd expect in a custom home. The result? A living space that’s as unique as you are.
Your Blueprint for the Perfect Barndominium
Jumping into a barndominium build is a heck of an adventure, but let me tell you, the planning you do upfront will save you a world of headaches and cash later on. This isn't like buying a house that's already standing. You're the one calling the shots, and every decision ripples through the entire project. This first phase is, without a doubt, the most critical. It’s the foundation—both literally and figuratively—for everything to come.
The real work starts way before a single shovel hits the ground. You have to juggle finding the right piece of land, nailing down a budget that's actually realistic, and sketching out a design that fits how you live. It's a three-legged stool: the land you pick shapes your design, and the design you want determines your budget.
Finding Your Land and Setting the Stage
Your journey truly begins with the hunt for that perfect plot of land here in Southern North Carolina. It’s easy to get swept up by the beautiful views and wide-open spaces, but you have to look deeper. Get nosy about zoning laws, find out how far you are from utility hookups (power, water, internet), and get a feel for what it'll cost just to prep the site. That gorgeous, secluded property might seem like a dream until you realize it needs thousands in grading or that running electricity will blow your budget.
Before you even think about signing on the dotted line, you absolutely must get a soil percolation test—we just call it a "perc test." This tells you if the soil can handle a septic system, which is a must-have for most rural builds. A failed perc test can kill your project before it even starts, making the land unbuildable for a home.
Pro Tip: I always tell my clients to make their offer on a piece of land contingent on a successful perc test and a clean survey. This is your safety net. It protects you from buying a property you can't build on or discovering a nasty surprise with your property lines.
It helps to think about these first steps as a logical sequence. Each one sets up the next.
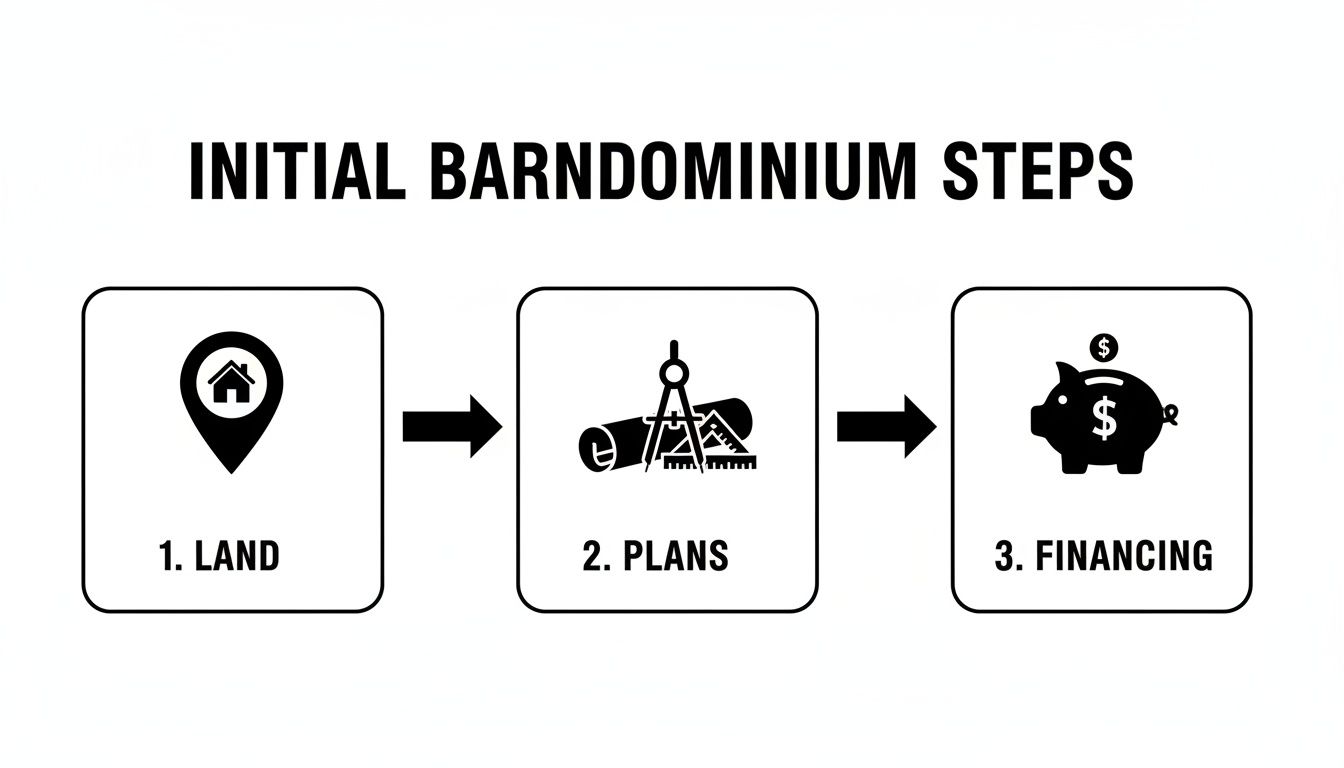
As you can see, you can't really get financing without plans, and you can't draw up good plans without knowing your land. They all flow together.
To keep it all straight, here’s a quick checklist of what you should be focused on right out of the gate.
Initial Barndominium Project Checklist
This table breaks down the essentials you need to tackle before you even think about breaking ground. Getting these right sets the tone for a smooth and successful build.
| Phase | Key Action | Why It's Critical |
|---|---|---|
| Land Acquisition | Due Diligence | Investigate zoning, utility access, and perform a perc test. This prevents buying unusable land. |
| Design & Planning | Finalize Floor Plan | Your design directly impacts material costs, labor, and your final loan amount. |
| Financing | Secure a Construction Loan | Having detailed plans and a solid budget is non-negotiable for getting lender approval. |
| Permitting | Submit Plans to County | You can't start construction without approved permits. This step ensures your build is legal and safe. |
Think of these as your foundational pillars. If one is shaky, the whole project can feel off-balance.
Designing a Floor Plan That Works
Once you've got your land, it's time for the fun part: designing the barndo itself. This is where your vision starts to take shape, but you have to ground it in reality. The wide-open interiors of barndominiums give you an incredible amount of freedom. Need a massive workshop? A quiet home office? A few extra bedrooms for the kids? This is the moment to map it all out.
Here are a few things to really chew on:
- Living vs. Working Space: How are you splitting the square footage? Decide how much is for your home and how much is dedicated to that garage, shop, or hobby space you've been dreaming of.
- Ceiling Height: Soaring ceilings are a classic barndo feature, but they come with a cost. A grand 14-foot ceiling in the great room feels amazing, but it also means a bigger, pricier HVAC system to keep it comfortable.
- Window and Door Placement: Think about the sun. Smart window placement can flood your home with natural light and even help with heating in the winter. And those big roll-up garage doors? They're perfect for blurring the line between your living room and the outdoors on a nice day.
If you're still getting your head around all the options, we put together a guide that explains what exactly a barndominium is and what makes them so different from a typical house.
Budgeting and Financing Your Build
Let's talk money. One of the biggest draws of a barndominium is how much bang you get for your buck. A typical 1,200-square-foot barndo build averages around $128,400, which breaks down to about $107 per square foot. Compare that to a conventional home, where costs can easily shoot past $200 or $300 per square foot, and you can see the appeal.
The savings don't stop when the build is done, either. Steel frames can slash long-term maintenance costs by up to 30% compared to wood, and a well-insulated barndo can lead to 20-40% lower utility bills year after year.
Getting a loan for a barndominium can be trickier than getting a standard mortgage, though. A lot of traditional banks just aren't familiar with this kind of construction. Your best bet is to find lenders who specialize in construction loans or check with local farm credit unions. When you walk in, you'll need to have your act together with detailed plans and a line-item budget to show them you're serious.
From Permits to Pours: Laying the Groundwork
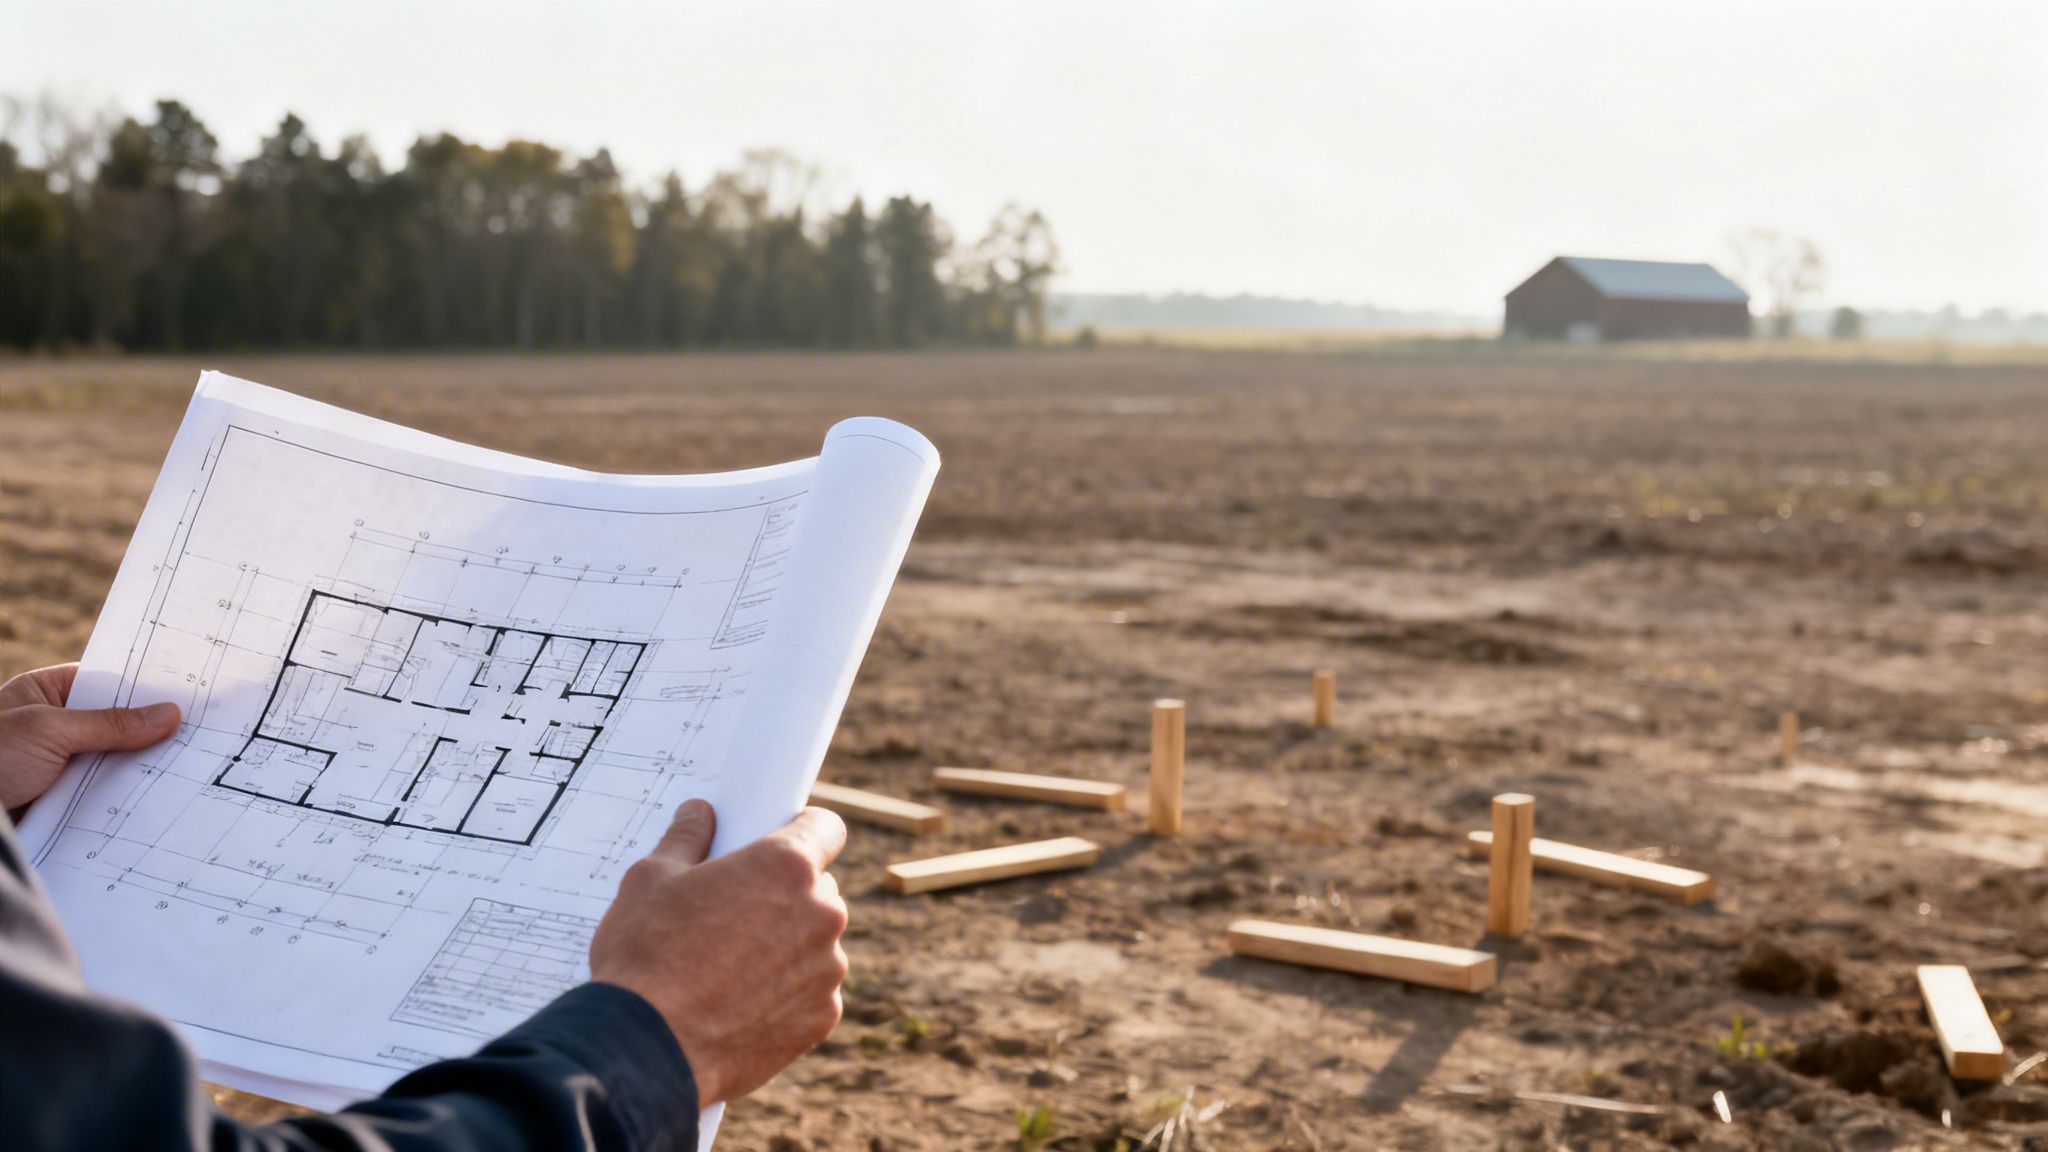
You’ve got the land, you’ve got a solid design in hand… now what? This next phase is where the vision starts to meet reality. It’s also where many aspiring builders get bogged down in the world of permits, codes, and concrete.
Frankly, this isn't the most glamorous part of the process. But getting it right is absolutely non-negotiable for a safe, legal, and structurally sound home.
Think of this stage as two trains running on parallel tracks. On one, you’re working with the county to get your plans approved. On the other, you're coordinating with excavation and concrete crews to prep the site. Good planning here is everything—it’s what prevents those costly delays that can kill a project's momentum.
The Not-So-Fun Part: Getting Your Permits
Before you can dig a single hole, the local county building department needs to give you the green light. Here in Southern North Carolina, that means submitting a hefty permit application package. This isn’t just a simple floor plan; it’s a detailed set of documents that proves your barndominium will be built to code.
You'll typically need to pull together:
- Engineered Building Plans: These are the master blueprints covering every detail—structural, electrical, plumbing, and mechanical systems.
- A Detailed Site Plan: This map shows exactly where the structure will sit on your property. It has to include setbacks from property lines, the septic system location, and driveway access.
- The Septic System Permit: If you aren't connecting to a city sewer, you’ll need a separate permit for your septic tank and drain field. This is where that initial perc test comes back into play.
This is exactly why hiring an experienced general contractor is worth its weight in gold. They know the local codes inside and out and have relationships at the county permit offices. A seasoned pro ensures your plans get submitted correctly the first time, helping you avoid the frustrating back-and-forth that can stall a project for weeks, or even months. If you need a hand with this, our guide on how to choose a general contractor is a great place to start.
A common mistake I see is people totally underestimating the permit timeline. In many counties around here, the review process can take anywhere from one to five months, depending on how busy they are and how complex your project is. You have to factor this administrative time into your overall schedule from day one.
Choosing the Right Foundation for Your Barndo
While the paperwork is getting processed, your site prep can finally begin. This brings you to one of the most fundamental decisions you’ll make: what kind of foundation will your barndominium sit on? This choice ripples through your budget, timeline, and even your home's long-term comfort.
For most barndos in our region, it really boils down to two main options: a slab-on-grade foundation or a crawlspace. Each has its pros and cons, and the right answer depends on your goals and your land.
| Foundation Type | Pros | Cons | Best For… |
|---|---|---|---|
| Slab-on-Grade | Lower cost, faster to install, incredibly durable. | Tough to access plumbing/electrical later on, can feel cold underfoot. | Builders on a tight budget or anyone looking for the quickest build time. |
| Crawlspace | Easy access to utilities, better for sloped lots, warmer floors. | Higher initial cost, needs careful moisture control to prevent problems. | Homeowners who want easier long-term maintenance and better insulation. |
A slab-on-grade foundation is pretty much what it sounds like—a single, thick layer of concrete poured directly onto a prepared ground pad. It's straightforward, cost-effective, and gives you a rock-solid base. The catch? All your initial plumbing and electrical conduits have to be laid perfectly before the pour, because trying to make changes later is a massive, expensive headache.
On the other hand, a crawlspace foundation elevates the home a few feet off the ground. This creates an accessible space for all your utilities, which makes future repairs or upgrades so much simpler. It costs a bit more upfront, but that long-term convenience is often worth the investment—especially here in the humid climate of Southern North Carolina, where managing moisture under the house is key. Your local soil conditions and the slope of your land will also play a huge role in making the final call.
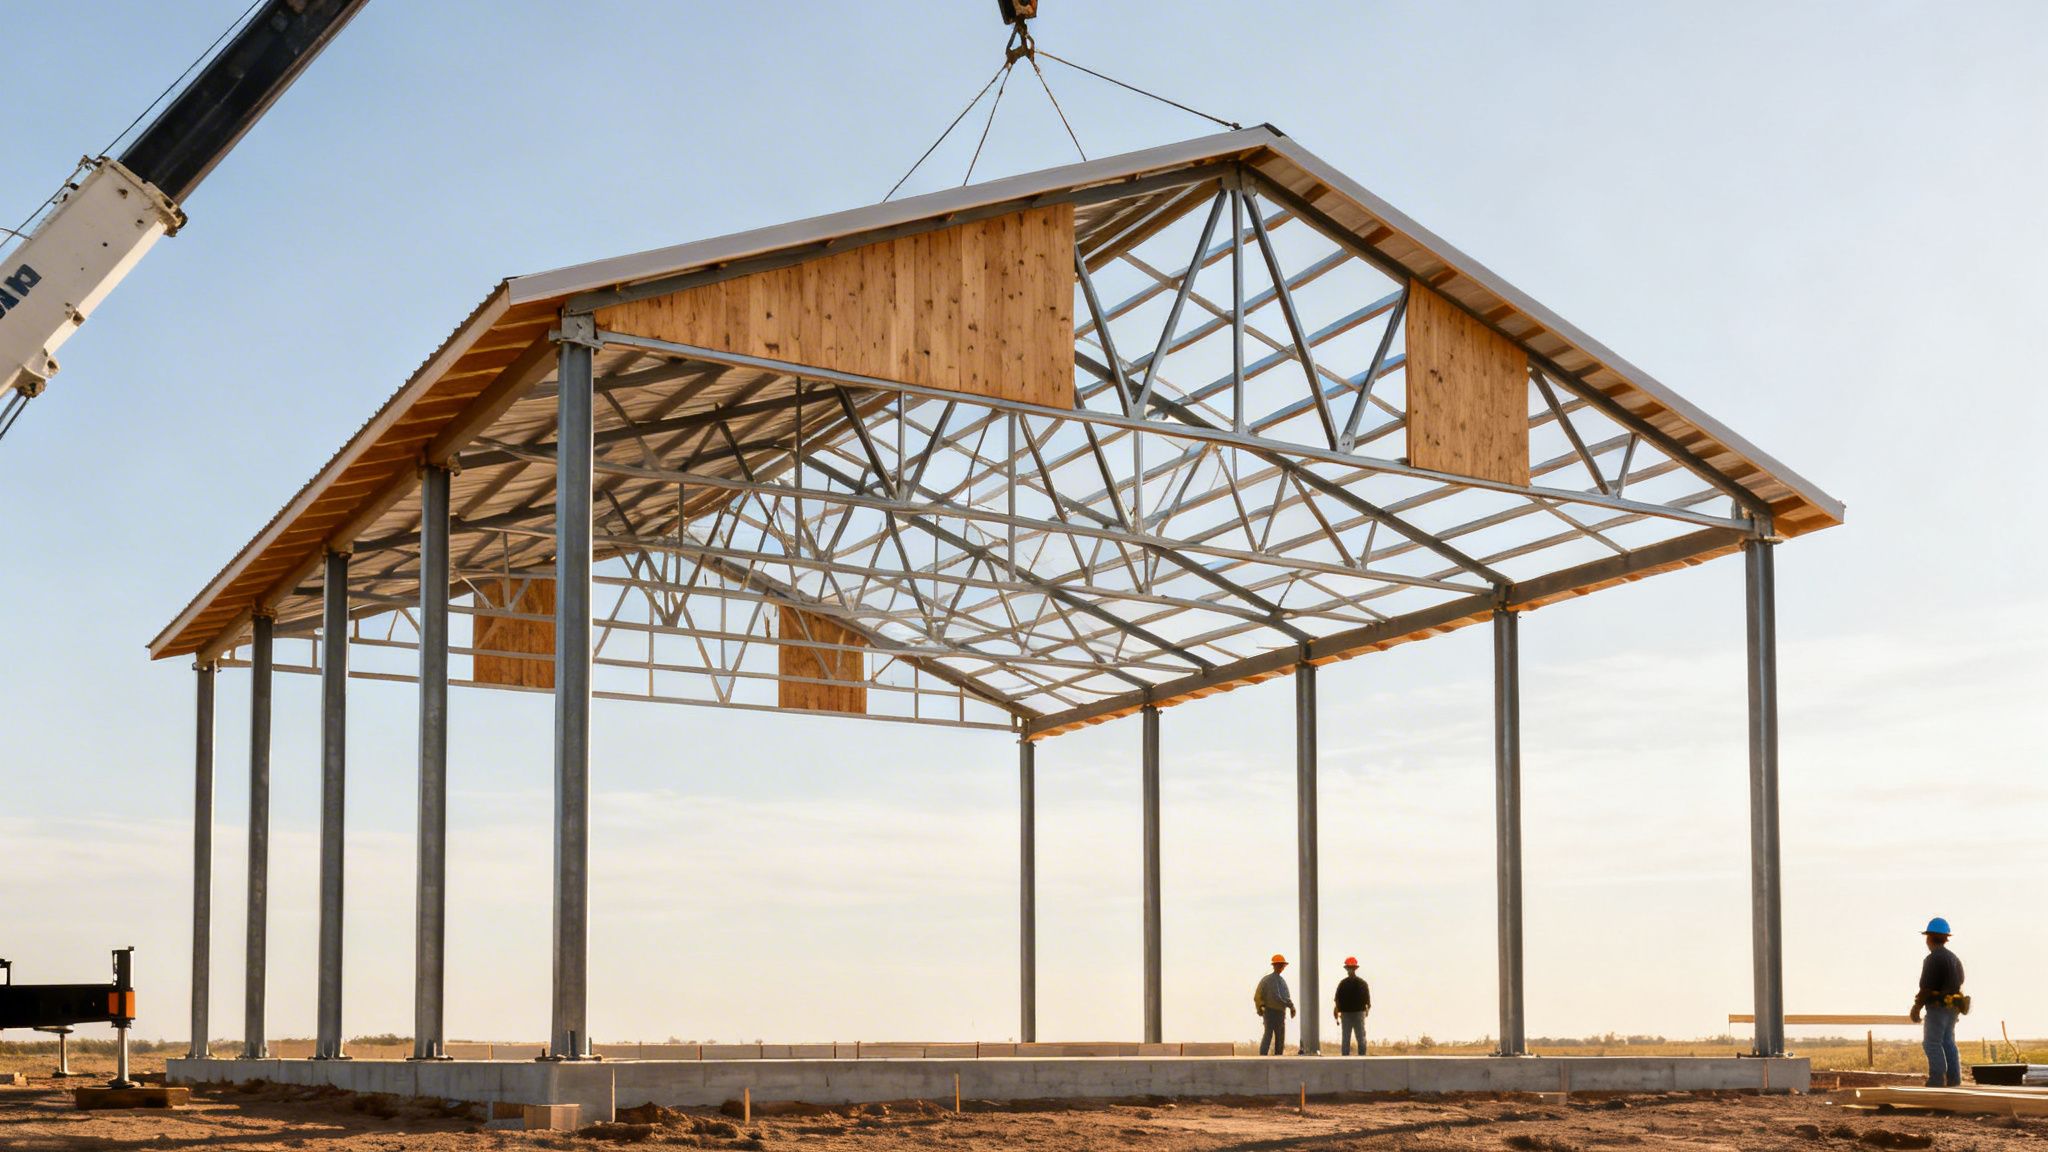
After weeks of pouring concrete and sorting through paperwork, this is the moment it all starts to feel real. When those first steel beams go up against the Southern North Carolina sky, you can finally see the true scale and shape of your future home. Your blueprint is officially transforming from lines on paper into a place with presence.
A good crew can get a simple barndo frame up in just a few days, which is always an exciting part of the process. But the most important decision you'll make at this stage isn't about speed—it's about what that frame is made of.
All-Steel Versus Hybrid Construction
When it comes to the skeleton of your barndominium, you’re looking at two main paths: an all-steel frame or a hybrid approach that mixes steel with traditional wood framing. Both are solid choices, but they’re suited for different priorities, budgets, and the overall feel you're going for.
An all-steel structure is the classic barndominium. The entire load-bearing frame, from the main columns to the roof trusses, is fabricated steel. This route gives you unmatched strength and durability. Steel is completely resistant to rot, termites, and fire, which means less to worry about down the road and often lower insurance premiums.
A hybrid build, on the other hand, uses that strong steel skeleton but fills in the interior walls with standard wood studs, usually 2x6s. This has become incredibly popular because you get the wide-open spans only steel can offer, but the interior finishing process feels much more familiar to subcontractors who work on traditional homes every day.
I’ve seen clients go both ways, and the choice often boils down to this: If maximum durability and almost zero long-term maintenance are at the top of your list, all-steel is tough to beat. If you want more flexibility with interior design and a build process that feels more conventional on the inside, the hybrid model is a fantastic compromise.
Let's dig into the details to see which one makes more sense for your project.
All-Steel vs Hybrid Barndominium Structures
The choice between an all-steel frame and a hybrid design will ripple through your entire project, influencing everything from upfront costs to how you hang pictures on the wall. There’s no single right answer, just the one that aligns best with your vision and budget.
Here's a straightforward comparison to help you weigh the pros and cons.
| Feature | All-Steel Construction | Hybrid (Steel & Wood) Construction |
|---|---|---|
| Durability | Exceptionally high resistance to fire, pests, and rot. Built to last for generations with minimal structural upkeep. | The main steel frame is rock-solid, but interior wood studs are still vulnerable to moisture and termites if not protected. |
| Interior Finishing | Requires a bit more planning. Drywall and utilities are attached to steel purlins and girts, which some trades are less familiar with. | Feels like a standard home build inside. It's simple for electricians and plumbers to run wires and pipes through wood studs. |
| Design Flexibility | The undisputed champion for massive, uninterrupted open spaces. You can put interior walls anywhere, but they need to be framed within the shell. | Gives you a more conventional feel and makes it easier to create complex interior details like soffits, built-ins, and other architectural touches. |
| Cost | The initial material cost for the steel package is typically higher. Labor can sometimes be faster, which may offset some expense. | Often provides some upfront savings, as wood framing materials can be less expensive than interior steel studs and components. |
Ultimately, this is one of those foundational decisions you'll want to hash out with your builder. They can run the numbers for your specific design and give you a clear picture of the cost and timeline implications for both scenarios.
Creating a Weather-Tight Shell
Once your frame is standing tall, the next sprint is to get it "dried in." This just means installing the roof, siding, windows, and doors to create a protective shell that keeps the weather out. It's a huge milestone because it allows your interior crews—the electricians, plumbers, and HVAC pros—to start their work without worrying about rain delays.
Here’s what getting dried-in involves:
- Putting the Lid On: Most barndos go with durable, low-maintenance metal roofing. These systems are rated to last 50 years or more and are fantastic at reflecting that intense summer sun we get here, which definitely helps with cooling bills.
- Choosing Your Siding: While classic metal siding is the go-to, you’re not stuck with it. A lot of people are mixing materials now—think stone wainscoting on the bottom, some brick accents, or Hardie board siding to add a ton of custom curb appeal.
- Windows and Doors: This is where you really inject your home's personality. Big picture windows to capture a view, a stylish front door, and practical roll-up doors for a workshop or indoor/outdoor space. We always push for investing in high-quality, energy-efficient windows; they make a huge difference in our humid summers and chilly winters.
Getting every seam sealed and every opening properly flashed is non-negotiable. This is where a detailed construction quality control checklist is worth its weight in gold, as it helps catch small mistakes that could lead to big problems with leaks or drafts later. Your barndominium's shell is its first line of defense, so you have to get it right.
Installing Your Home's Core Systems
Once your barndominium is fully dried in, the real magic starts. The focus shifts from the big, brawny work of framing and roofing to the intricate network of systems that bring your home to life—HVAC, plumbing, and electrical. This is when a structure truly starts to feel like a home.
Getting these core systems right the first time isn't just important; it's non-negotiable. It’s a carefully choreographed dance where licensed pros run the veins and arteries of your home through the walls and floors before a single sheet of drywall goes up. A mistake here isn't a small hiccup. It can be a costly, wall-ripping nightmare to fix later on.
Sizing HVAC for Barndominium Living
The very things that make barndos so appealing—those wide-open floor plans and soaring ceilings—also create a unique challenge for heating and cooling. You can't just grab a standard residential HVAC unit, drop it into a space with 16-foot ceilings and a massive great room, and expect it to keep up.
It all boils down to a proper load calculation. An experienced HVAC contractor will look at much more than just square footage.
- Total Air Volume: They measure the entire cubic volume of the space. Those high ceilings mean a lot more air to condition.
- Insulation Quality: The R-value of your spray foam or batt insulation directly impacts how hard the system has to work.
- Window Efficiency: The number, size, and type of windows play a huge role in heat gain during our hot Southern North Carolina summers.
- Building Orientation: How your home sits on the land determines its exposure to the sun throughout the day.
An undersized unit will run nonstop, sending your power bills through the roof while still failing to keep you comfortable. On the flip side, an oversized unit will cycle on and off too quickly—a problem called short-cycling—which is horribly inefficient and terrible at controlling humidity, a major issue in our climate.
Planning Your Plumbing and Electrical Layouts
With the HVAC ductwork mapped out, the plumbers and electricians get to work. This is where your floor plan becomes the bible, dictating where every drain, faucet, outlet, and light switch will live. Smart planning at this stage pays off in daily convenience for years to come.
For plumbing, the layout needs to serve both the "home" and "shop" sides of your barndo. We often plan for two distinct zones: one for the kitchen and bathrooms, and another for the workshop or garage. That second zone might need a big utility sink, a half-bath, or even a floor drain for washing down equipment.
When it comes to the electrical plan, think bigger than just lights and outlets. A typical barndo needs a robust system designed for diverse loads.
Your electrical panel needs to be planned for the life you're going to live. It’s not just about powering the dishwasher and the TV; it’s about having dedicated 240-volt circuits ready for a welder, an air compressor, or an RV hookup in the shop, without ever worrying about tripping a breaker.
The Role of a General Contractor
Making sure all these specialized trades work together smoothly is one of the most critical jobs a general contractor has. An electrician can’t run wire until the plumber has set pipes, and neither can do their job if the HVAC ducts are in the way. It’s a complex sequence that absolutely demands expert oversight.
Think of your contractor as the project's conductor. They ensure each trade:
- Works in the correct order to prevent costly rework and frustrating delays.
- Follows all local building codes for safety and compliance.
- Collaborates on placement so that pipes, wires, and ducts aren't fighting for the same space inside a wall.
This coordination is what guarantees that when the inspector shows up, everything passes without a hitch. It's the behind-the-scenes work that ensures your home’s core systems are safe, efficient, and built to last. This seamless integration is the hallmark of a well-managed build and is absolutely essential to getting your barndominium project right.
Finishing the Interior and Protecting Your Investment
Once the shell is up and the core systems are roughed in, you’ve made it to the most rewarding part of the build. This is where the structure starts to feel less like a project and more like your home. Everything from here on out is about bringing your style to life, one detail at a time.
This is also where your patience really gets put to the test. The big, dramatic moves like pouring concrete and raising steel are done. Now, it's all about the finish work—the stuff you'll see, touch, and live with every single day. One of the biggest mistakes I see is people rushing this last leg of the race. Don't do it.
Bringing Your Vision to Life Inside
Finishing an interior isn't random; it follows a pretty strict order to make sure everything comes out looking sharp. It usually kicks off with insulation (if it wasn't done earlier), then moves on to hanging and finishing drywall. Think of this as creating the blank canvas for your home.
After that, you start adding the layers that give the place personality:
- Painting: A first coat goes on the walls and ceilings, setting the mood for the whole house.
- Flooring: This is a huge milestone. Whether you're laying down some tough luxury vinyl plank (LVP), classic hardwood, or going for that sleek polished concrete look, seeing the floors go in is a game-changer.
- Cabinetry and Trim: Kitchen cabinets, bathroom vanities, interior doors, baseboards, and all the window casings start going in. This is where the architectural details really begin to pop.
- Final Finishes: Now for the fun stuff—countertops, tile backsplashes, light fixtures, sinks, faucets, toilets, and all the hardware.
Each step builds on the one before it. You absolutely have to get the sequence right to avoid wrecking brand-new work. For instance, you’d never want to install beautiful new carpet right before the painters show up with their ladders and buckets.
Avoiding Common Pitfalls in the Final Stretch
Honestly, the interior work can feel like it takes forever. It's the point where you might have painters, flooring guys, cabinet installers, and electricians all trying to work in the same space.
Getting the schedule right is a constant battle. A delay with the cabinet delivery can throw a wrench in the countertop templating, which then pushes back the plumber who's supposed to install the sink. A contractor who is a master of logistics is worth their weight in gold here.
They say the last 10% of a project takes 90% of the time, and it’s true. Fight the urge to cut corners just to get it done. A beautifully finished home is worth waiting a few extra weeks for. Sloppy paint or crooked trim will annoy you forever.
Another thing to watch is moisture. Even with a sealed, weather-tight shell, materials like drywall mud and fresh paint introduce a ton of water into the air. Good ventilation during this phase is a must to prevent problems down the road. This is especially true if you have a crawlspace foundation. We have a whole guide on how to deal with potential crawl space moisture problems that’s worth a read.
Protecting Your Long-Term Investment
As you’re wrapping things up, it's a good time to think about the value you've just built. This is where barndominiums really come into their own. Their unique style and rock-solid construction make them a hot commodity, particularly in rural markets.
Barndos hold their value incredibly well. Unlike tiny houses that can depreciate by 5-10% each year, barndominiums appreciate just like traditional homes. In some rural areas, we’re seeing appreciation rates of 7-12%. A big reason is that they qualify for standard financing, opening them up to about 70% more potential buyers.
Think about it: a 2,500 sq ft barndo might cost between $162,500 and $400,000 to build, but its value holds firm. The steel frame alone requires 40-50% less maintenance than wood, which can save you $2,000-$5,000 a year. You can dig deeper into the numbers by checking out this piece on barndominium investment value on MossyOakProperties.com.
When you combine lower upkeep, modern energy efficiency, and a look that people love, building a barndominium isn't just a lifestyle choice—it's a smart financial move. By focusing on quality finishes and timeless design now, you’re locking in that value for decades.
A Few Common Questions We Get About Building Barndos
Even with the most detailed blueprint in hand, questions are going to pop up. It’s just the nature of the beast when you’re building something as unique as a barndominium, which is really a mash-up of commercial-grade construction and residential dreams. Let's walk through some of the most common questions we hear from clients right here in Southern North Carolina.
Why Is Financing a Barndominium So Tricky?
Getting a loan for a barndo can definitely feel like an uphill battle, especially compared to a conventional mortgage. The simple reason is that most traditional lenders don't quite know how to classify them; they don't fit neatly into the standard residential home box, which gums up their underwriting process.
This is why you’ll almost always have better luck with lenders who specialize in new construction loans or with local farm credit bureaus. They get it. They understand the process and are far more comfortable with the unique nature of the build.
The real key to getting an approval is solid preparation. Lenders are going to want to see everything: detailed architectural plans, a line-item budget, and proof that you’re working with a licensed and reputable general contractor. You have to remember, they're investing in a project, not just buying a property.
Just How Customizable Can My Barndominium Be?
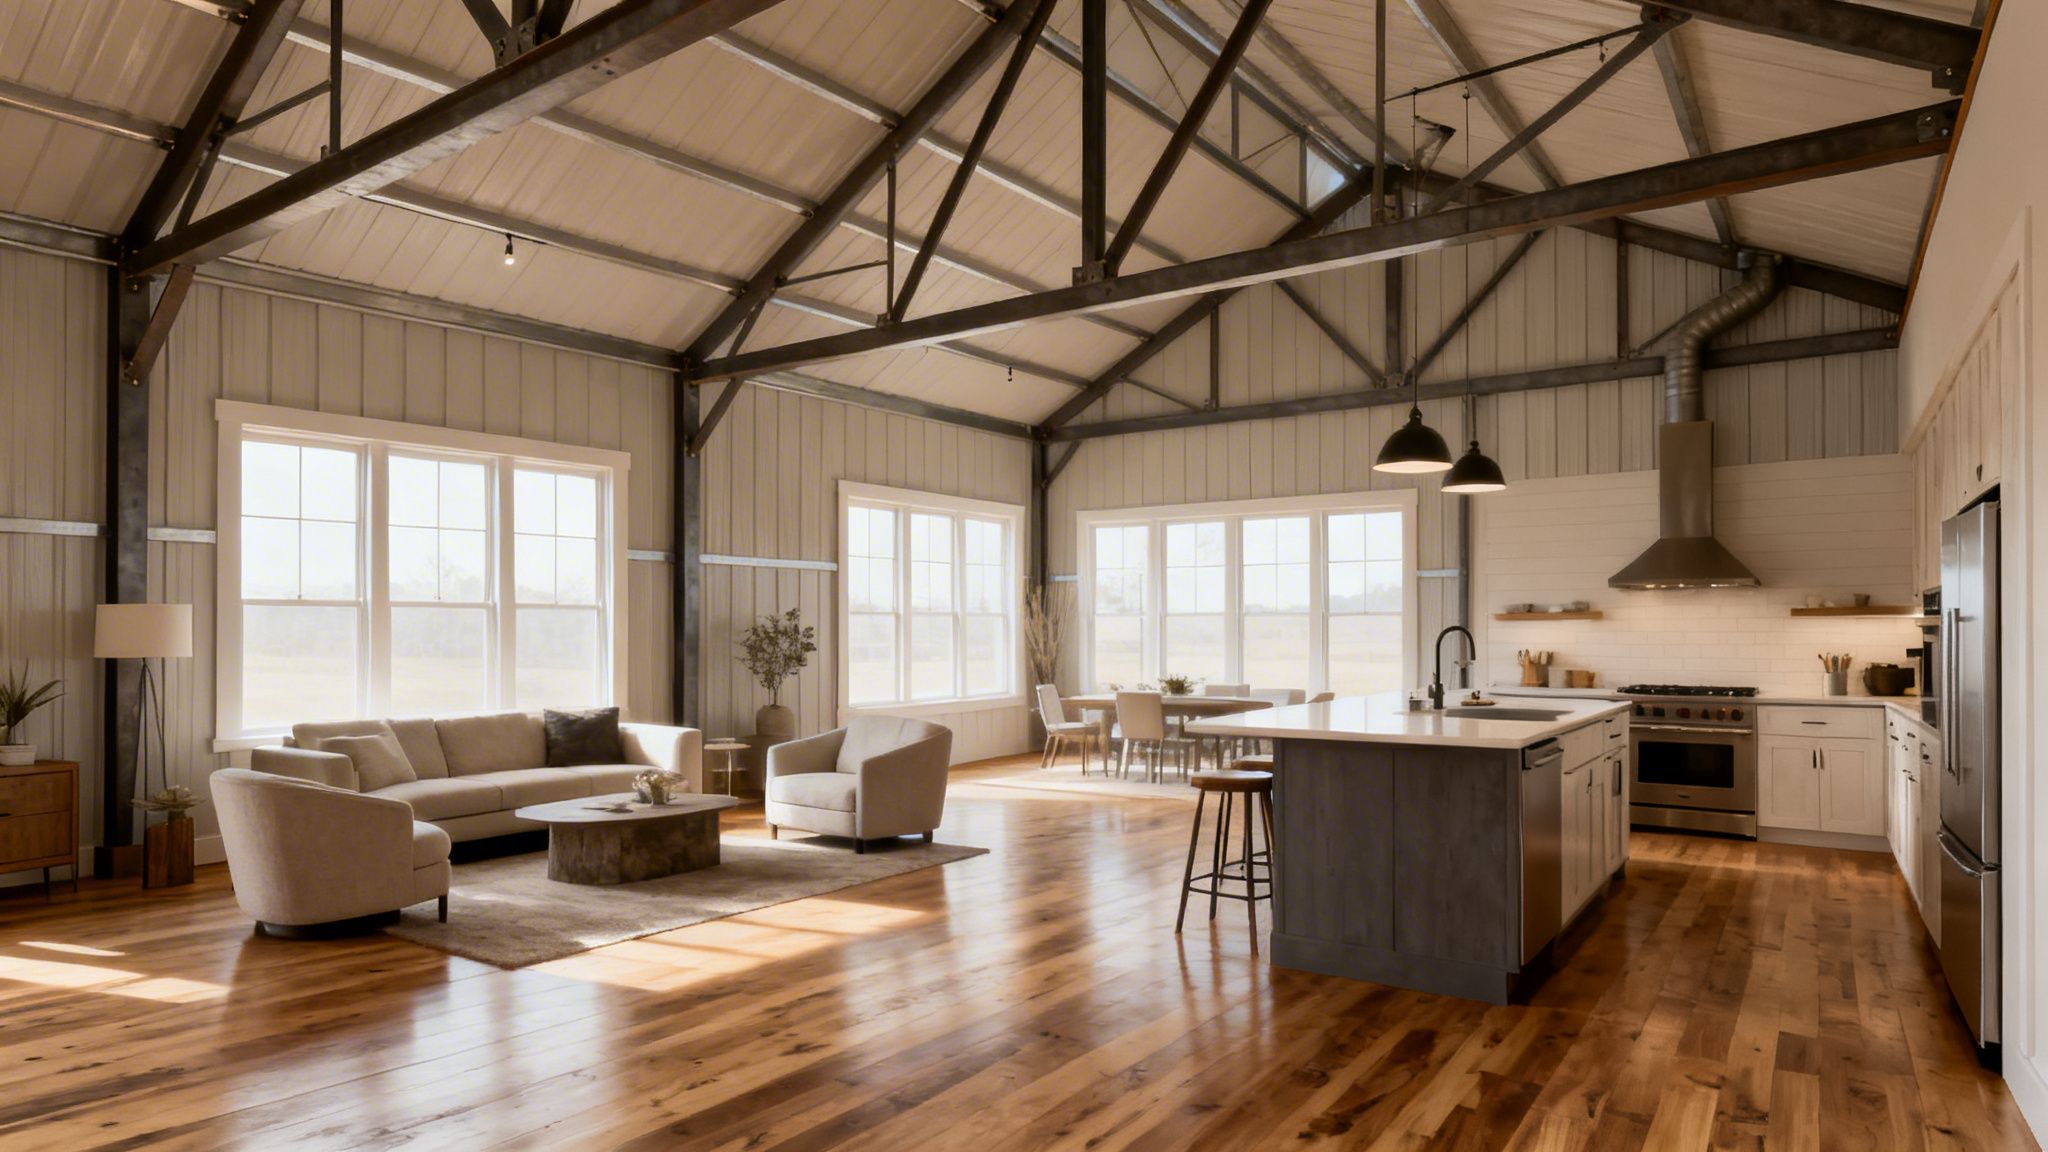
This is where barndominiums really shine. The magic is in the clear-span steel frame construction. Since there are no interior load-bearing walls to get in your way, you have total freedom with your floor plan. Your ability to customize is nearly limitless.
You really have full control over:
- Layout: Dream of a massive great room that flows right into your kitchen and dining area? Easy. Need a dedicated workshop space with a 16-foot roll-up door? No problem at all.
- Exterior Finishes: While metal siding is the classic choice, you aren't stuck with it. You can incorporate stone wainscoting, brick accents, or even traditional lap siding to get whatever look you're after.
- Interior Style: From a rustic farmhouse vibe with reclaimed wood beams to a sleek, modern industrial aesthetic with polished concrete floors—the interior is entirely up to you.
Think of the structure as a blank canvas. The only real limits are your imagination and your budget, and that flexibility is a huge part of their appeal.
What Is a Realistic Construction Timeline?
There's a common misconception that a barndo shell goes up in a week and you’re moving in the next month. While putting up the frame itself is remarkably fast, the total project timeline is much closer to that of a custom-built home.
From breaking ground to moving in, a realistic timeline is typically 6 to 12 months.
Here’s a general idea of why it takes that long:
- Site Prep & Foundation (2-4 Weeks): This covers all the excavation, pouring the concrete slab, and giving it the proper time to cure.
- Shell Erection (1-3 Weeks): A good crew can get the structure framed and "dried-in" (meaning it's protected from the elements) relatively quickly.
- Interior Rough-In (4-8 Weeks): This is the methodical work that can’t be rushed—running all the HVAC, plumbing, and electrical lines.
- Finishes & Details (2-4+ Months): This is almost always the longest phase. It’s everything from drywall and flooring to cabinet installation, painting, and all the final touches.
Keep in mind, things like weather delays, subcontractor availability, and the sheer complexity of your design can all push that timeline out. Building your own home is definitely a marathon, not a sprint.
Building a barndominium is a major undertaking, but with the right partner, it can be an incredibly rewarding journey. At FHP Contracting, we have the local expertise to guide you through every single step, from navigating permits in Brunswick County to finally handing you the keys.
If you're ready to turn your vision into a reality, let's start the conversation today. Get Your Free Consultation