

That musty, damp smell wafting up from your crawl space? It’s more than just an unpleasant odor—it’s a warning sign. A properly installed crawl space vapor barrier is your first and best line of defense against the ground moisture that’s silently trying to wreak havoc on your home. This isn't just about laying down some plastic; it's about stopping water vapor from seeping into your home's foundation, where it can cause structural damage, foul up your air quality, and drive your energy bills through the roof.
Why Ground Moisture Is Your Home's Worst Enemy
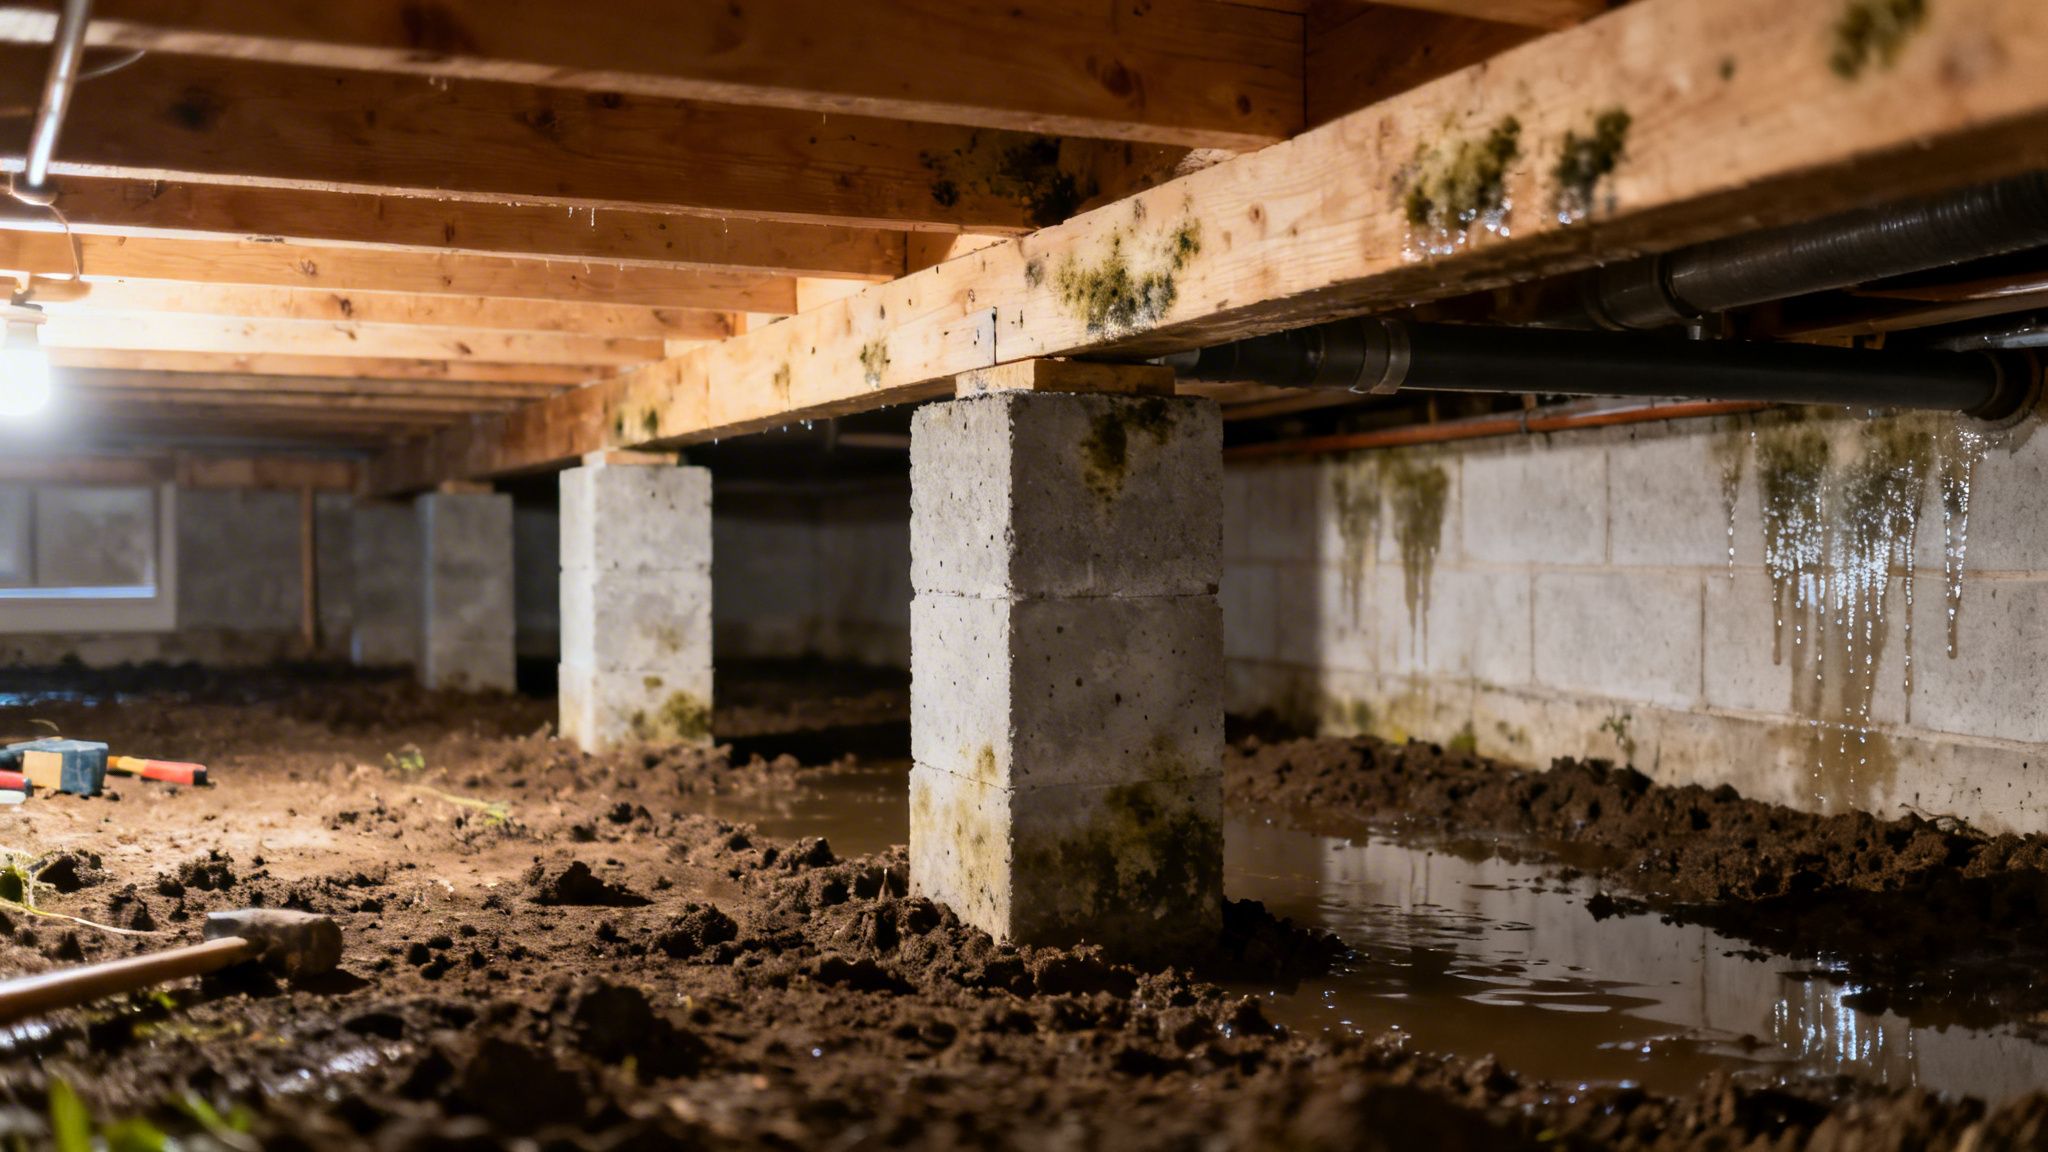
Before we get into the nitty-gritty of installation, you need to understand why this project is so critical. An unprotected crawl space is basically a giant sponge, pulling moisture right out of the earth. Here in Southern North Carolina, where we fight humidity year-round, that effect is supercharged. Over time, that relentless dampness blossoms into a whole host of expensive and unhealthy problems.
Think of the soil under your house as a constant, invisible fountain of water vapor. This vapor rises and soaks into everything it touches—your floor joists, your insulation, the subfloor. The results are as predictable as they are destructive.
The Real-World Impact of Unchecked Moisture
This damage isn't some far-off possibility; it's a real, tangible threat to your home and your family's health. We see it all the time. Homeowners often don't realize how fast a damp crawl space can spiral out of control.
Here are the most common consequences we run into on the job:
- Structural Wood Rot: Constant moisture is the mortal enemy of wood. It softens joists and beams, leading to the kind of decay that compromises the very structure of your house. This is, hands down, one of the most expensive crawl space repairs you can face.
- Mold and Mildew Growth: Damp, dark, and still—it's the perfect recipe for a mold factory. Those spores don't stay put, either. They easily find their way into your living areas through tiny gaps, which is terrible news for anyone with allergies or respiratory issues. You can dig deeper into how to spot and fix these issues in our guide to crawl space moisture problems.
- Pest Infestations: Termites, cockroaches, and rodents absolutely love dark, damp places. An unsealed crawl space is like rolling out the welcome mat and inviting them to move in.
- Soaring Energy Bills: Here’s one you can feel in your wallet. Damp air takes way more energy to heat and cool. Your HVAC system has to work overtime just to keep you comfortable, and you'll see it right there on your monthly utility statement.
Vapor Barrier vs. Full Encapsulation
It’s crucial to know the difference between laying a simple vapor barrier and doing a full crawl space encapsulation. A vapor barrier is essentially a heavy-duty plastic liner laid across the dirt floor. It's the bare minimum for controlling ground moisture.
Full encapsulation, however, is the complete package. It's a system that involves:
- Laying down a tough, reinforced vapor barrier on the floor.
- Running that barrier up the foundation walls and wrapping any piers.
- Taping and sealing every single seam and penetration.
- Sealing off the outside vents to keep humid air from getting in.
- Usually, installing a dehumidifier to actively manage the air's moisture level.
An encapsulation creates a completely sealed, clean, and conditioned space under your home. For long-term protection, especially in humid climates like ours, it's the gold standard and what we almost always recommend.
This isn't just our opinion; the entire industry is moving in this direction. The market for crawl space encapsulation services is expected to hit $7.65 billion in 2025 and grow by nearly 15% every year after that through 2033. Homeowners are catching on that this is a smart investment in energy efficiency and a healthier home. It's quickly becoming a standard part of modern home maintenance.
Getting the Right Tools and Materials for the Job
Any successful crawl space project boils down to using the right supplies from the very beginning. I've seen it time and time again—homeowners try to cut corners on materials, and the whole system fails within a few years. Walking into a hardware store can be a bit of a sensory overload, but if you go in with a solid list, you'll come out with exactly what you need.
The whole point is to choose stuff that can handle the damp, rough environment under your house for decades, not just a single season. Let's break down what you actually need to do this right.
The Heart of the Project: Your Vapor Barrier
The most important piece of the puzzle is, of course, the vapor barrier itself. First thing's first: forget that thin, clear plastic sheeting you find in the paint aisle. That stuff, which is usually 6-mil or less, is way too flimsy for a crawl space. It tears if you look at it wrong and will break down fast once it's exposed to the ground.
You need a reinforced polyethylene liner that’s specifically made for this kind of work.
- Thickness is a Big Deal: The professional standard is anywhere from 10-mil to 20-mil. This range gives you excellent puncture resistance and can handle you crawling around on it during installation and any future maintenance checks.
- Reinforcement is Non-Negotiable: Look for a liner that has a scrim reinforcement—it looks like a grid of polyester cord—sandwiched between the plastic layers. This is a game-changer because it stops any potential tears from spreading.
- Color and Quality: Most pro-grade barriers are white. This does more than just look clean; it brightens up the whole crawl space, making it so much easier to spot future problems like pests or leaks. Make sure the material is 100% virgin polyethylene. Recycled plastics can have weak spots that will absolutely compromise the barrier.
Choosing the right thickness isn't just a preference; it's about performance. You're essentially creating a new floor, and for that kind of under-slab application, the 10-mil to 20-mil range is what the pros use. There's a reason it holds the largest market share in North America—it's just far more effective at stopping moisture from the soil, which is what leads to rot, mold, and bigger structural problems down the line. You can see more on these material standards and why they are the top choice for the North American vapor barrier market on transparencymarketresearch.com.
To help you decide, here’s a quick rundown of the common thicknesses and where they fit best.
Vapor Barrier Thickness Comparison
| Mil Rating | Recommended Use | Durability | Cost Factor |
|---|---|---|---|
| 6-mil | Light-duty vapor diffusion retarder. Generally NOT recommended for crawl space floors. | Low. Prone to punctures and tears during install. | Low |
| 10-mil | Good for smooth, debris-free crawl spaces with very light storage and minimal foot traffic. | Moderate. A solid entry-level choice. | Medium |
| 12-mil | The "sweet spot" for most residential crawl spaces. Balances cost and durability well. | Good. Resists punctures from typical use. | Medium-High |
| 20-mil | Best for rough, rocky crawl spaces or areas that will be used heavily for storage. | Excellent. The most robust option available. | High |
For most homes we work on, a 12-mil reinforced liner is the perfect balance of toughness and value. But if your crawl space floor has a lot of sharp rocks or you plan on storing heavy items, bumping up to 20-mil is smart money spent.
Don't Skimp on Fasteners and Tapes
Once you've got the liner, you need to secure it and make it completely airtight. The tapes and fasteners you pick are just as critical as the barrier itself. This is another area where I see DIY projects go wrong. Using the wrong adhesive is a guaranteed failure; standard tapes just peel right off in a damp crawl space.
Seam and Sealing Tape:
You absolutely need a specialized tape made for polyethylene. It’s usually called vapor barrier seam tape and has an incredibly sticky, moisture-resistant adhesive. You'll use this for every seam between the plastic sheets and to seal around pipes, posts, and piers. Seriously, don't even think about using duct tape—it will fail.
Attaching to Walls and Piers:
To get a good seal against concrete or masonry walls, you have two great options:
- Termination Bars: These are rigid plastic strips you fasten to the wall right over the top edge of the liner. They create a continuous, tight seal that looks clean and professional.
- Concrete Fasteners: Masonry pins or special concrete screws with washers work well for securing the barrier directly to your foundation walls and support piers.
Pro Tip: Before you fasten the liner to the wall, run a thick bead of polyurethane caulk or a dedicated sealant right behind it. When you tighten the fasteners, this creates a gasket-like seal that stops moisture and soil gases from sneaking up behind the barrier.
Your Complete Tool Checklist
With your main materials sorted, gathering the right tools will make the installation a whole lot less frustrating. You probably have a lot of this stuff already.
- Safety Gear: This is non-negotiable. Get a good respirator or mask (N95 or better), safety glasses, heavy-duty knee pads, and some durable gloves.
- Utility Knife: A sharp knife is your best friend. Make sure you have plenty of extra blades to keep your cuts clean.
- Measuring Tape: A 25-foot or 30-foot tape is a must for getting accurate measurements of your space.
- Caulking Gun: Needed for applying that all-important sealant at the wall terminations.
- Hammer Drill: If you're fastening into concrete or block walls, a regular drill just isn't going to cut it. You'll need the extra power of a hammer drill.
Having all this ready to go before you even start will save you countless trips out from under the house. While this gives you a solid list to start with, understanding the bigger picture is key. If you're weighing your options, you might be interested in exploring the full benefits of crawl space encapsulation in our detailed article.
A Practical Walkthrough of the Installation Process
Alright, this is where the theory stops and the real work begins. We’ve talked about what to buy, but actually turning that roll of heavy plastic and tape into a robust defense against ground moisture comes down to careful, methodical execution. Forget the generic advice you see everywhere else; this is a field-tested process, born from years spent in damp, tight, and challenging crawl spaces.
The single most important part of this job has nothing to do with the vapor barrier itself—it's the prep work. Honestly, almost every failed DIY job I've seen went wrong because this step was rushed or skipped entirely. You absolutely need a clean and smooth surface for a durable, long-lasting seal.
Preparing the Ground Surface
Before you even think about unrolling a single sheet of liner, the entire crawl space floor has to be meticulously cleared out. This isn't just a quick tidying up; it's about creating a solid foundation for the entire system.
- Get Rid of the Junk: Start by yanking out any old, torn-up plastic, construction scraps, old wood, and any other junk. Anything left behind is a potential puncture point for your new barrier or a perfect spot for moisture to get trapped.
- Grade the Dirt: Grab a rake and get the ground as smooth and level as you can. Your goal is to knock down any high spots and fill in the low spots.
- Handle Sharp Objects: Keep a sharp eye out for rocks, exposed roots, or chunks of concrete sticking out of the ground. Get them out of there. If you run into something that just won't budge, the best move is to cover it with a small mound of sand or a scrap of durable geotextile fabric to protect the liner from getting sliced open.
Think of it like prepping a wall before you paint. A smooth, clean base is everything if you want a professional result.
This little infographic boils the next steps down to the three key players: the barrier itself, the tape, and the fasteners.
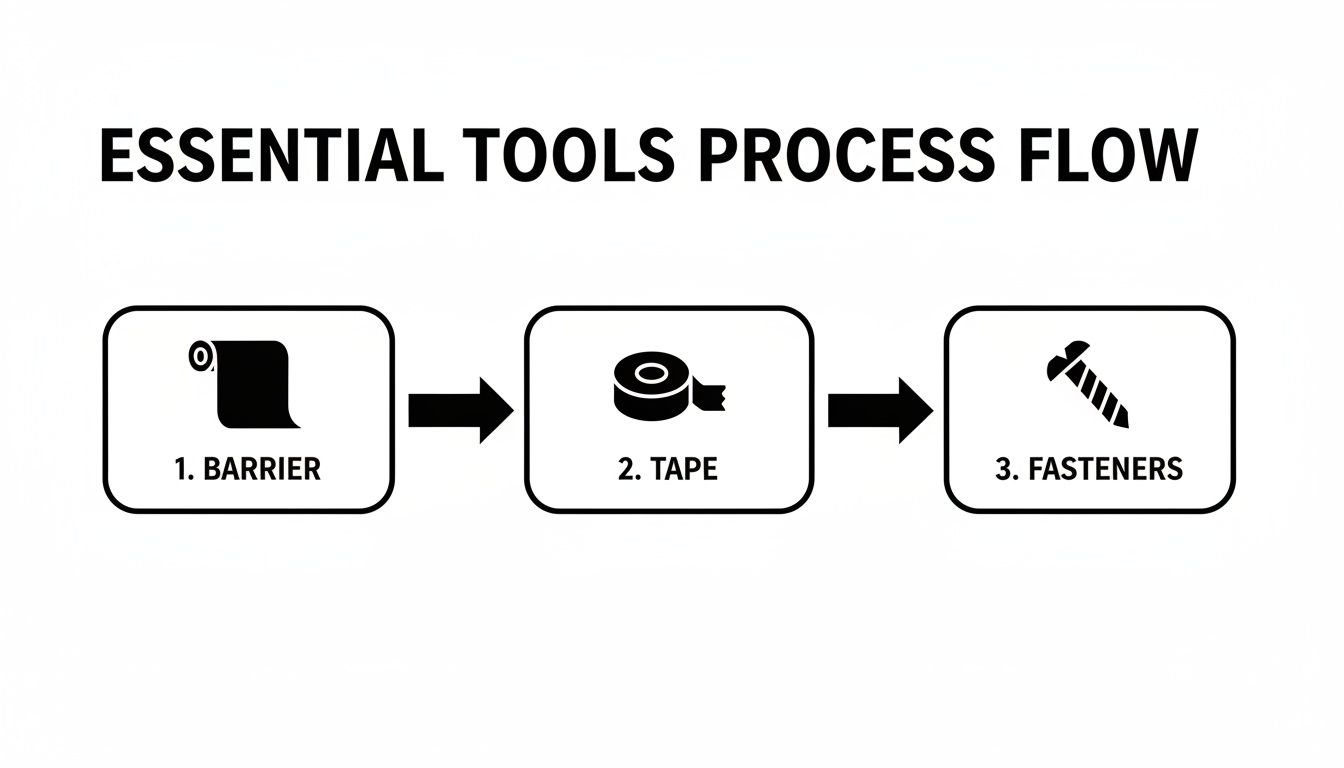
A successful job all comes down to how these three parts work together to create one continuous, sealed sheet.
Laying and Overlapping the Barrier
With a clean slate, you can finally start laying down the liner. The goal here is total coverage, creating a single, monolithic barrier that leaves absolutely no path for moisture to find its way up.
I always start at the far back corner of the crawl space and work my way toward the entrance—it just keeps you from walking all over your finished work. Unroll your first sheet, and be generous with it. Leave several extra feet of material bunched up at the end and along the foundation walls. You'll trim this down later, but trust me, having too much is a much better problem than not having enough.
Now, as you lay your next sheet, the overlap is non-negotiable.
Most building codes, like the International Residential Code (IRC), will tell you that a 6-inch overlap is the minimum requirement. From my experience, that’s not enough. We always go for a 12-inch overlap. That extra width gives you a much stronger, more forgiving seal that's less likely to fail over time.
Once your sheets are overlapped properly, it's time to make that bond permanent. Using a quality vapor barrier seam tape, run a continuous strip right down the middle of the seam. Then, go back over it and press down hard with a small squeegee or even just the heel of your hand. You need to make sure that tape has full, aggressive contact with both pieces of liner.
Sealing Walls and Penetrations
Laying plastic on the floor is only half the battle. To truly stop moisture, the barrier has to run up the foundation walls and be perfectly sealed around every single pier, pipe, and support post. This is easily the most tedious part of the job, but it's what separates a real encapsulation from a glorified tarp.
Attaching to Foundation Walls
You'll want to run the vapor barrier at least 6-12 inches up the foundation walls. In many places, code requires you to leave a small gap—usually 3 to 4 inches—at the top for termite inspections. Always check your local requirements.
Here’s our go-to method for getting a perfect wall seal:
- Run a thick, unbroken bead of polyurethane sealant or specialized butyl tape along the wall where the top edge of your liner will end.
- Press the vapor barrier firmly into the sealant.
- Lock it in place by mechanically fastening the liner with a termination bar or individual concrete fasteners every 18-24 inches. This creates a physical pressure-seal against the wall for a truly permanent bond.
Handling Piers and Pipes
Every pipe and post is a potential leak. Treat them carefully. For support piers, just wrap the liner around the base and run it up the side, sealing it just like you did on the foundation walls.
For pipes and wiring, the "boot" method works wonders.
- In the spot where the pipe comes through the floor, cut a small 'X' in the liner. Make the cut smaller than the pipe's diameter.
- Gently work the liner down over the pipe. The undersized cut creates a natural, tight friction fit.
- Now, use a generous amount of seam tape to wrap the liner tightly against the pipe, creating a custom gasket. For bigger pipes, you can cut a separate "collar" piece, wrap it around the pipe, and tape it both to the pipe and down to the main floor barrier.
This is what it's all about. This obsessive attention to detail is what turns a simple roll of plastic into a high-performance system. The goal is to hunt down and eliminate every last pathway for water vapor to get into your home.
Staying Compliant with Building Codes
A perfectly installed vapor barrier doesn't mean much if it fails a building inspection. Honestly, overlooking local codes is one of the most expensive and frustrating mistakes you can make. It often leads to a failed inspection and the soul-crushing task of tearing everything out and starting over. These rules aren't just red tape; they exist to protect your home's safety, your family's health, and its long-term structural integrity.
Trying to decipher building codes can feel like learning a new language, but it's not as scary as it looks. Most local regulations are built on the International Residential Code (IRC), which sets a national baseline. But—and this is a big but—your local municipality, especially if you're in a high-humidity area like the Southeast, will almost certainly have its own specific requirements.
What Inspectors Actually Look For
When an inspector shows up, they're not just going to peek in and give you a thumbs-up. They have a checklist, and they're looking for very specific details that prove you've created a continuous, effective barrier against ground moisture. Knowing what's on that list is your ticket to passing the first time.
Here are the big things they'll be checking:
- Material Thickness: Most codes require a minimum of 6-mil polyethylene sheeting. As we've already talked about, this is the absolute bare minimum and not what we'd recommend for a durable job, but it's often the starting point for compliance.
- Complete Ground Coverage: The barrier has to cover 100% of the dirt floor. No excuses, no exposed patches.
- Proper Seam Overlap: The IRC requires at least a 6-inch overlap at every seam. Our best practice, and what we tell all our clients, is to go for 12 inches. It creates a much stronger, more permanent seal.
- Wall Coverage: You can't just lay the plastic on the floor; it has to run up the foundation walls. The required height changes from place to place, but it's usually somewhere between 6 and 12 inches.
- Termite Inspection Gap: This is a huge one, especially in areas where termites are a problem. You’ll likely be required to leave a 3 to 4-inch gap between the top edge of your vapor barrier and the wooden sill plate. This gives inspectors a clear view to check for termite tunnels.
Getting this wrong isn't an option. A failed inspection means delays, added costs, and a whole lot of rework. Before you even buy your materials, make the five-minute phone call to your local building department. Ask them for their specific requirements for crawl space vapor barriers. It will save you days of headaches.
Translating Code into Action
It's one thing to read the rules and another to put them into practice on the ground. Let's walk through the most common failure points we see out in the field—the kinds of things an inspector can spot from ten feet away.
Incorrect Fastening and Sealing
Just draping the liner up the wall isn't going to fly. The code requires the barrier to be mechanically fastened to the foundation. This means using termination bars or concrete fasteners to hold it permanently in place. Just as important is sealing every single seam and penetration with proper vapor barrier tape. Don't even think about using duct tape; it will fail.
Ignoring Piers and Penetrations
Inspectors will get on their hands and knees to check around every single support pier, pipe, and wire coming through the floor. If you've just made a lazy cut around these obstacles, you're getting a red tag. Every penetration needs to be sealed up tight. You have to run the liner up the pier a few inches and tape it securely all the way around to create a sealed "boot." This detail-oriented work is what separates a passing job from a failing one.
This push for higher standards isn't just arbitrary. Modern construction regulations now mandate vapor barriers to combat serious problems like mold growth, wood rot, and poor indoor air quality. Whether you're in a muggy, humid climate or a place with severe winters, proper moisture control is now seen as essential for a home's longevity. This makes a code-compliant installation a smart investment for any homeowner. You can even see how these standards are influencing the vapor barrier market growth on precedenceresearch.com.
DIY vs. Hiring a Pro: Which Route Should You Take?
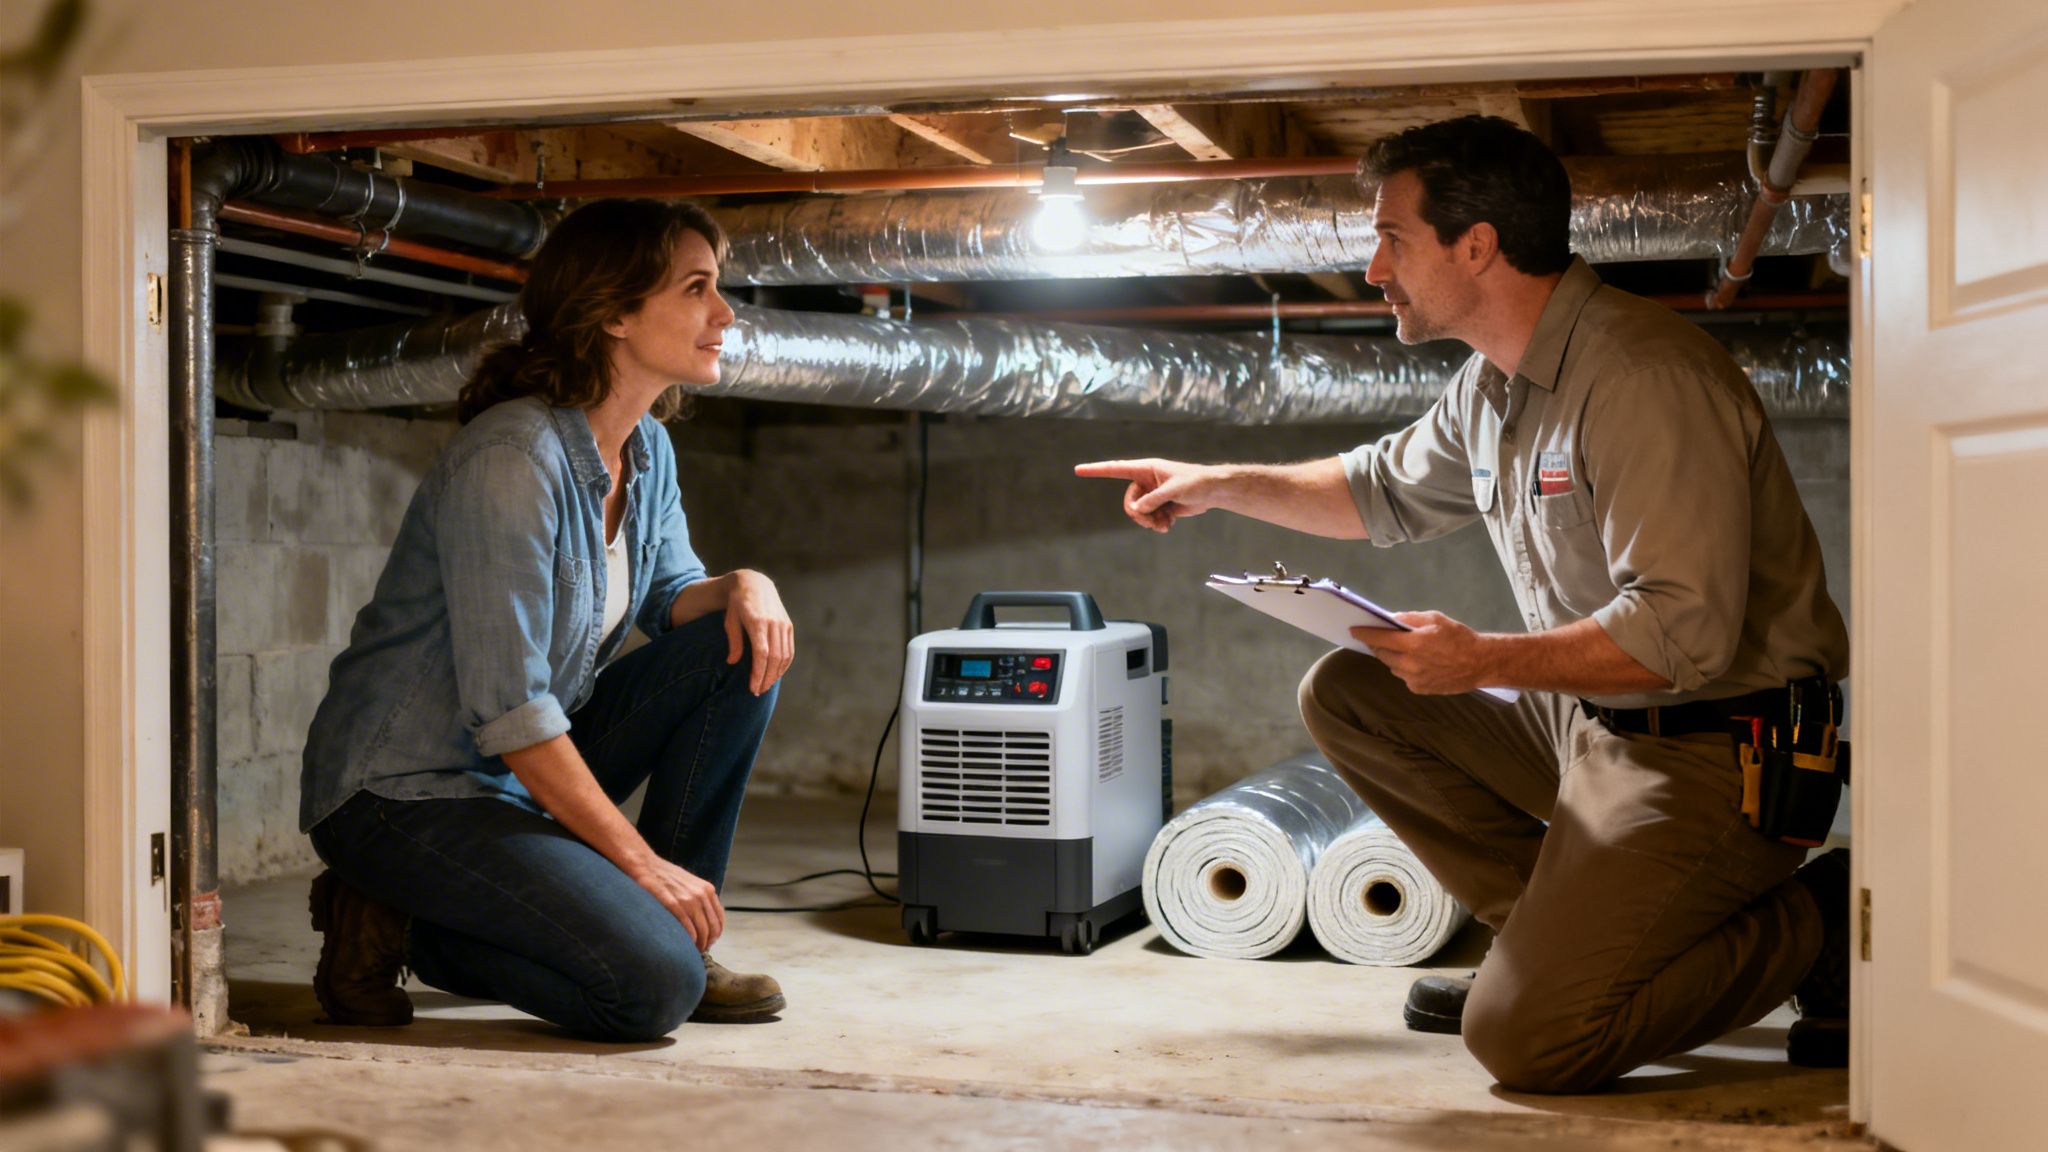
The idea of tackling a crawl space vapor barrier yourself can be tempting, especially when you see the potential cost savings. And let's be honest, for homeowners who don't mind getting dirty and are comfortable in tight spaces, a DIY install is absolutely doable.
But this is one of those projects where the line between a job well done and a complete waste of a weekend (and money) is razor-thin. It’s not just about rolling out some plastic. It's about creating a perfectly sealed system that addresses the real moisture issues under your home.
When to Seriously Consider a Professional
Some crawl spaces are simple, but many are hiding problems that can turn a straightforward project into a serious headache. If you spot any of these red flags during your inspection, it's a huge sign that you need to call in an expert.
These issues often point to a bigger problem that a simple vapor barrier won't fix.
- Standing Water or Mud: If you see puddles or the ground is just a muddy mess, you have a drainage or grading problem. Covering it with a barrier will only trap that water, creating a swampy, smelly bog that can actually damage your foundation.
- Signs of Mold or Rot: That musty smell isn't just "old house smell." If you see fuzzy growth on joists or the odor is undeniable, you have an active mold problem. This has to be professionally remediated before anything gets covered up. Sealing in mold is a major health hazard.
- Foundation Cracks or Damage: Notice any significant cracks in the foundation walls? What about a white, chalky substance (efflorescence) or walls that seem to be bowing inward? Stop right there. These are signs of structural issues or intense hydrostatic pressure that a sheet of plastic can't solve.
- A Crowded or Low-Clearance Layout: Crawl spaces crammed with support piers, HVAC ducts, and tons of plumbing are incredibly difficult to seal properly on your own. Getting a perfect, airtight seal around dozens of penetrations is where professional experience really pays off.
A good contractor doesn't just lay down plastic; they diagnose why your crawl space is damp in the first place. This holistic view is what ensures a permanent fix, tackling the root cause of water intrusion for a genuinely dry, healthy space.
The Real Value a Pro Brings to the Job
Hiring a team like FHP Contracting is about more than just avoiding the dirty work. You're investing in experience, better materials, and the peace of mind that comes with a job done right. We have access to commercial-grade materials, like tough 12-mil to 20-mil reinforced liners that you simply can't find at the local hardware store.
A professional installation guarantees that the work meets all local building codes, including specific rules for seam overlaps and mandatory termite inspection gaps. This is absolutely critical for passing inspections and protecting your home's value. Best of all, you get a solid workmanship warranty, which is your insurance against any installation mistakes.
If you're thinking about hiring help, our guide on how to choose a general contractor is a great resource for finding the right partner for your project.
DIY vs Professional Installation
So, should you do it yourself or bring in the experts? This table breaks down the key differences to help you decide.
| Factor | DIY Approach | Professional (FHP Contracting) |
|---|---|---|
| Cost | Lower upfront material cost since you're not paying for labor. | Higher initial investment that covers expert labor, premium materials, and a warranty. |
| Materials | You're limited to thinner, retail-grade liners and tapes from big-box stores. | We use commercial-grade, reinforced, tear-resistant barriers designed to last for decades. |
| Expertise | Relies on your own research. It's easy to miss underlying issues like drainage or mold. | Decades of hands-on experience diagnosing and permanently solving complex moisture problems. |
| Code Compliance | It's all on you. A mistake could lead to a failed inspection and having to redo the work. | We guarantee the installation will meet or exceed all local building codes and inspection standards. |
| Warranty | None. If the barrier fails or you make a mistake, the cost to fix it is 100% on you. | Your investment is protected by a comprehensive workmanship warranty for total peace of mind. |
Ultimately, the right choice depends on your skills, the condition of your crawl space, and your tolerance for risk. For a simple, dry space, DIY might work out. But for anything more complex, a professional is a wise investment in your home's health and value.
Common Questions About Vapor Barrier Installation
Even with the best guide in hand, a few questions always pop up when you're planning a project like this. And that's a good thing! Over the years, we've heard just about everything when it comes to crawl spaces. Here are some of the most common questions we get from homeowners, with straight-up answers from our experience in the field.
What Is the Average Cost of a Professional Installation?
This is usually the first thing people ask, and honestly, it depends entirely on what your crawl space needs. The final price tag is a mix of the total square footage, the thickness of the liner you choose, and just how complex the job is.
For a basic crawl space vapor barrier installation—just laying and sealing a quality liner on the ground—you can expect to be somewhere in the $0.50 to $1.50 per square foot range.
But if you're in a humid climate like ours, you're often looking at a full encapsulation to really solve the problem. That's a much bigger project that involves sealing vents, wrapping piers, and adding a commercial-grade dehumidifier. A complete encapsulation system is a more significant investment, typically running anywhere from $3,000 to $15,000+.
At FHP Contracting, we don't do guesswork. We provide free, no-pressure consultations for homeowners here in Southern North Carolina. We'll get under your house, see exactly what's going on, and give you a precise quote tailored to your home.
Can I Just Use Plastic Sheeting From a Hardware Store?
I get why people ask this—you see those cheap rolls of plastic in the paint aisle and think, "Why not?" But trust me, this is one of the most common DIY mistakes we see. That thin, flimsy plastic, usually 6-mil or less, just isn't built for the rough environment of a crawl space.
It tears the second you drag it over a rock, and it will break down in a year or two from the constant moisture and temperature swings. It's just not the right tool for the job.
A real, professional-grade vapor barrier is a different animal. We're talking 10 to 20 mil thick and reinforced with a polyester scrim. That reinforcement is key—it stops small punctures from turning into massive, system-compromising tears. It's what ensures the barrier will last for decades and, just as importantly, meet building codes.
Do I Need a Dehumidifier With My Vapor Barrier?
A vapor barrier does one job, and it does it exceptionally well: it stops moisture from evaporating out of the ground. Simple. What it can't do is pull the humidity that's already in the air out of the air. Here in North Carolina, humid air is a fact of life, and it will find its way into your crawl space, especially in the summer.
This is why a dehumidifier is almost always a non-negotiable part of a full encapsulation system. Think of it as a three-legged stool for a truly dry crawl space:
- Vapor Barrier: Blocks moisture coming up from the ground.
- Sealed Vents: Stops humid outdoor air from pouring in.
- Dehumidifier: Actively removes whatever moisture is left in the air.
Without all three, you're not really creating a conditioned space under your home. It's this combination that truly protects your home's structure from mold, rot, and pests.
How Often Should a Vapor Barrier Be Inspected or Replaced?
A high-quality liner that's been installed correctly is a long-term solution. It should easily last 20 years or more. But that doesn't mean you can completely forget about it. We always tell homeowners to pop their heads down there for a quick visual inspection about once a year.
Here’s what you’re looking for:
- Tears or Punctures: Check for any new damage, especially if you store things down there or have had other contractors working.
- Separating Seams: Look at the taped seams to make sure everything is still holding tight.
- Wall Seal Integrity: Make sure the liner is still fastened securely to the foundation walls.
Most small issues can be patched up in a few minutes with a scrap of liner and some good vapor barrier tape. If you find the material has gotten brittle or there's damage all over the place, it's probably time to think about a replacement. For more answers to common questions, check out our frequently asked questions page.